
Model
Tiny John - Open Source Bluetooth Speaker
Description
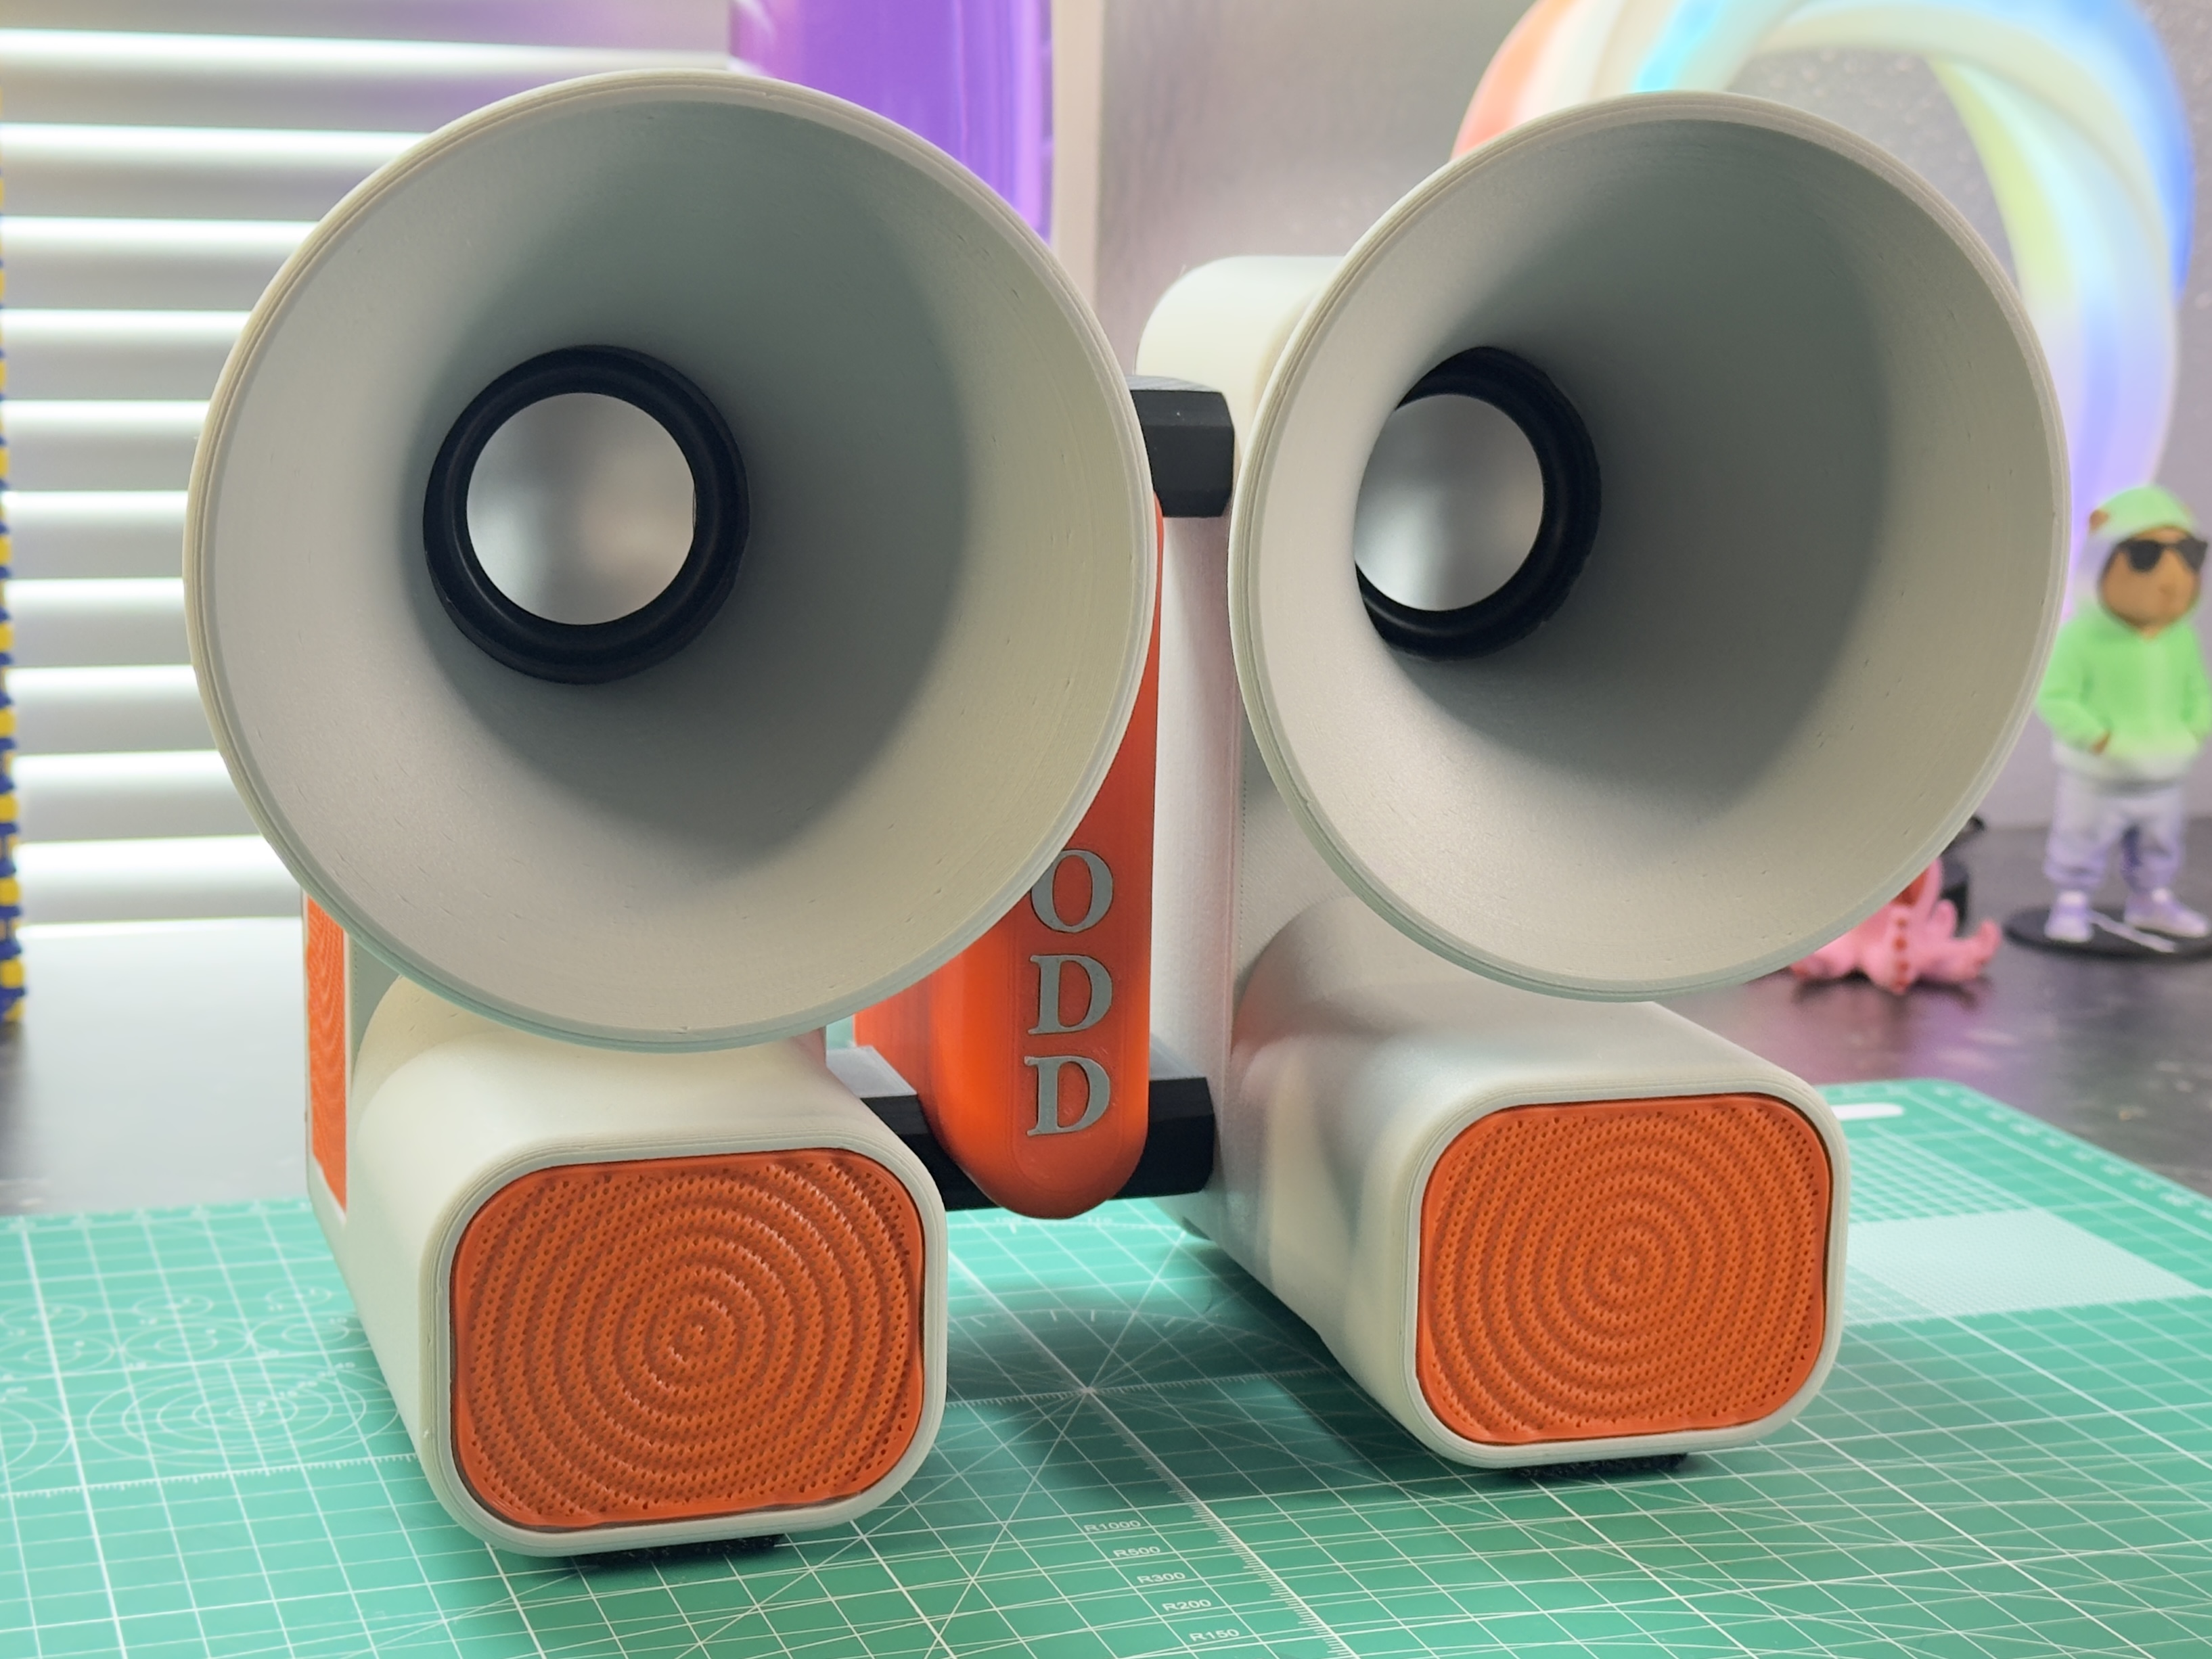
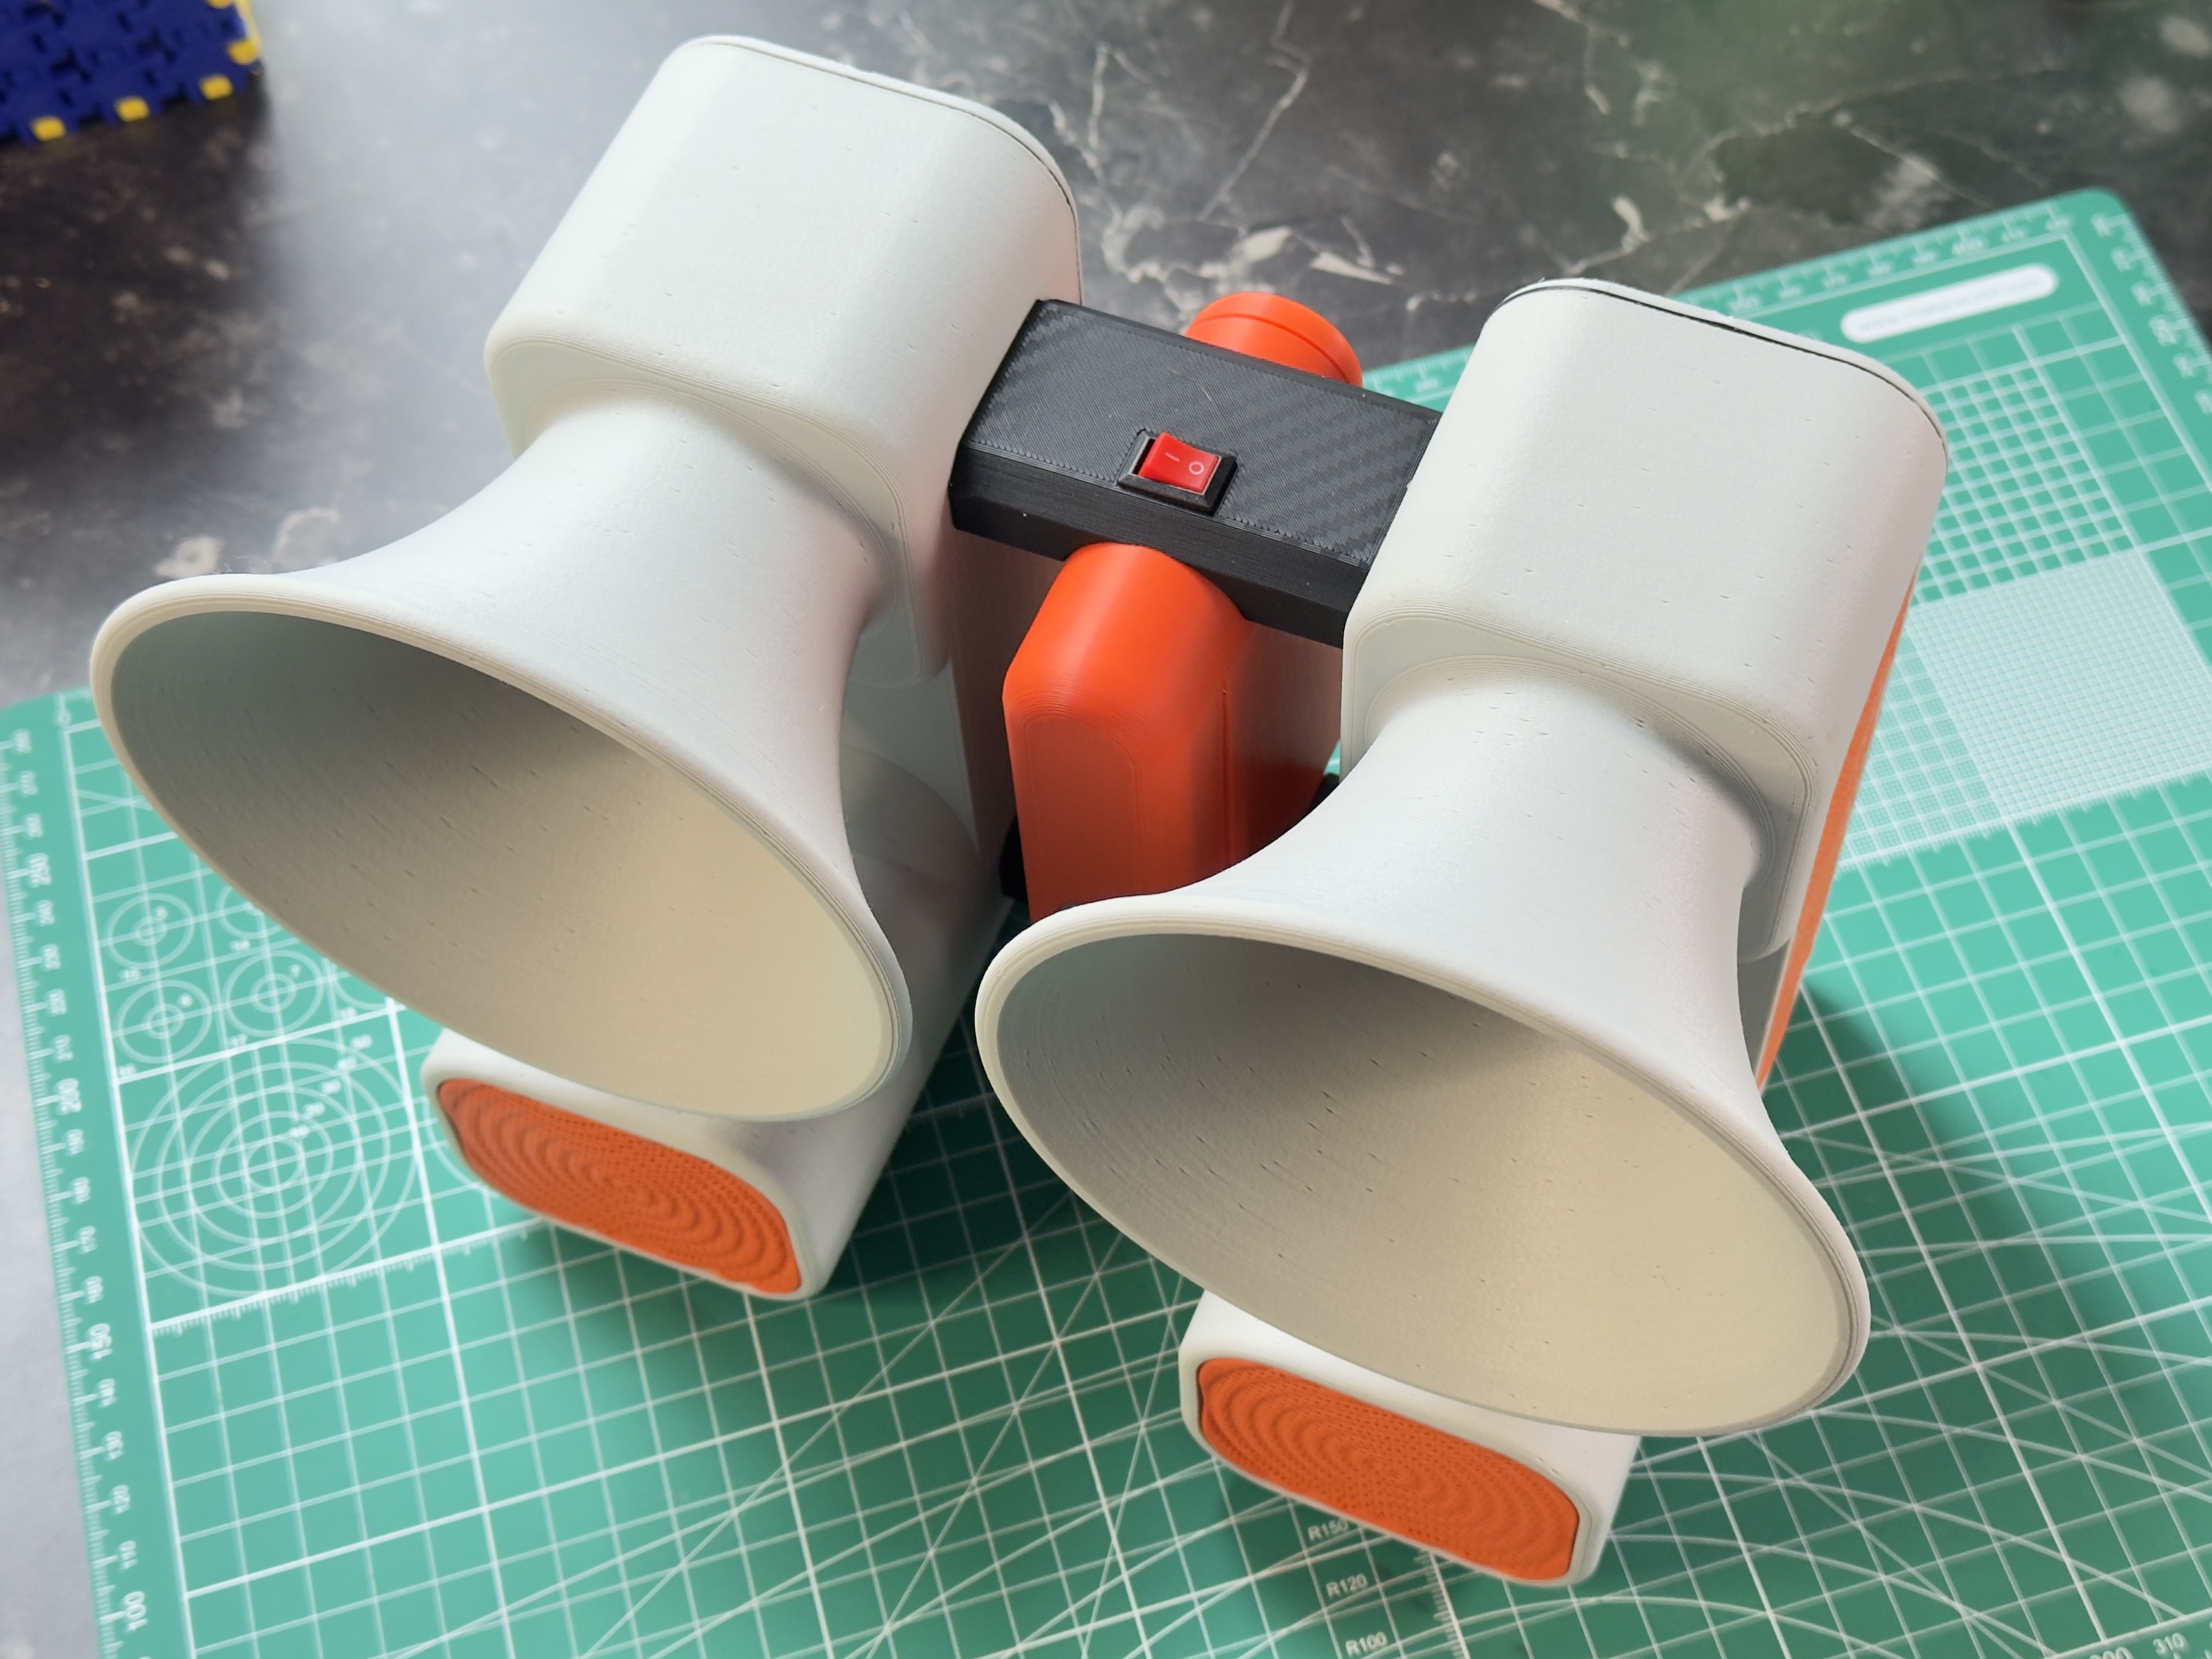
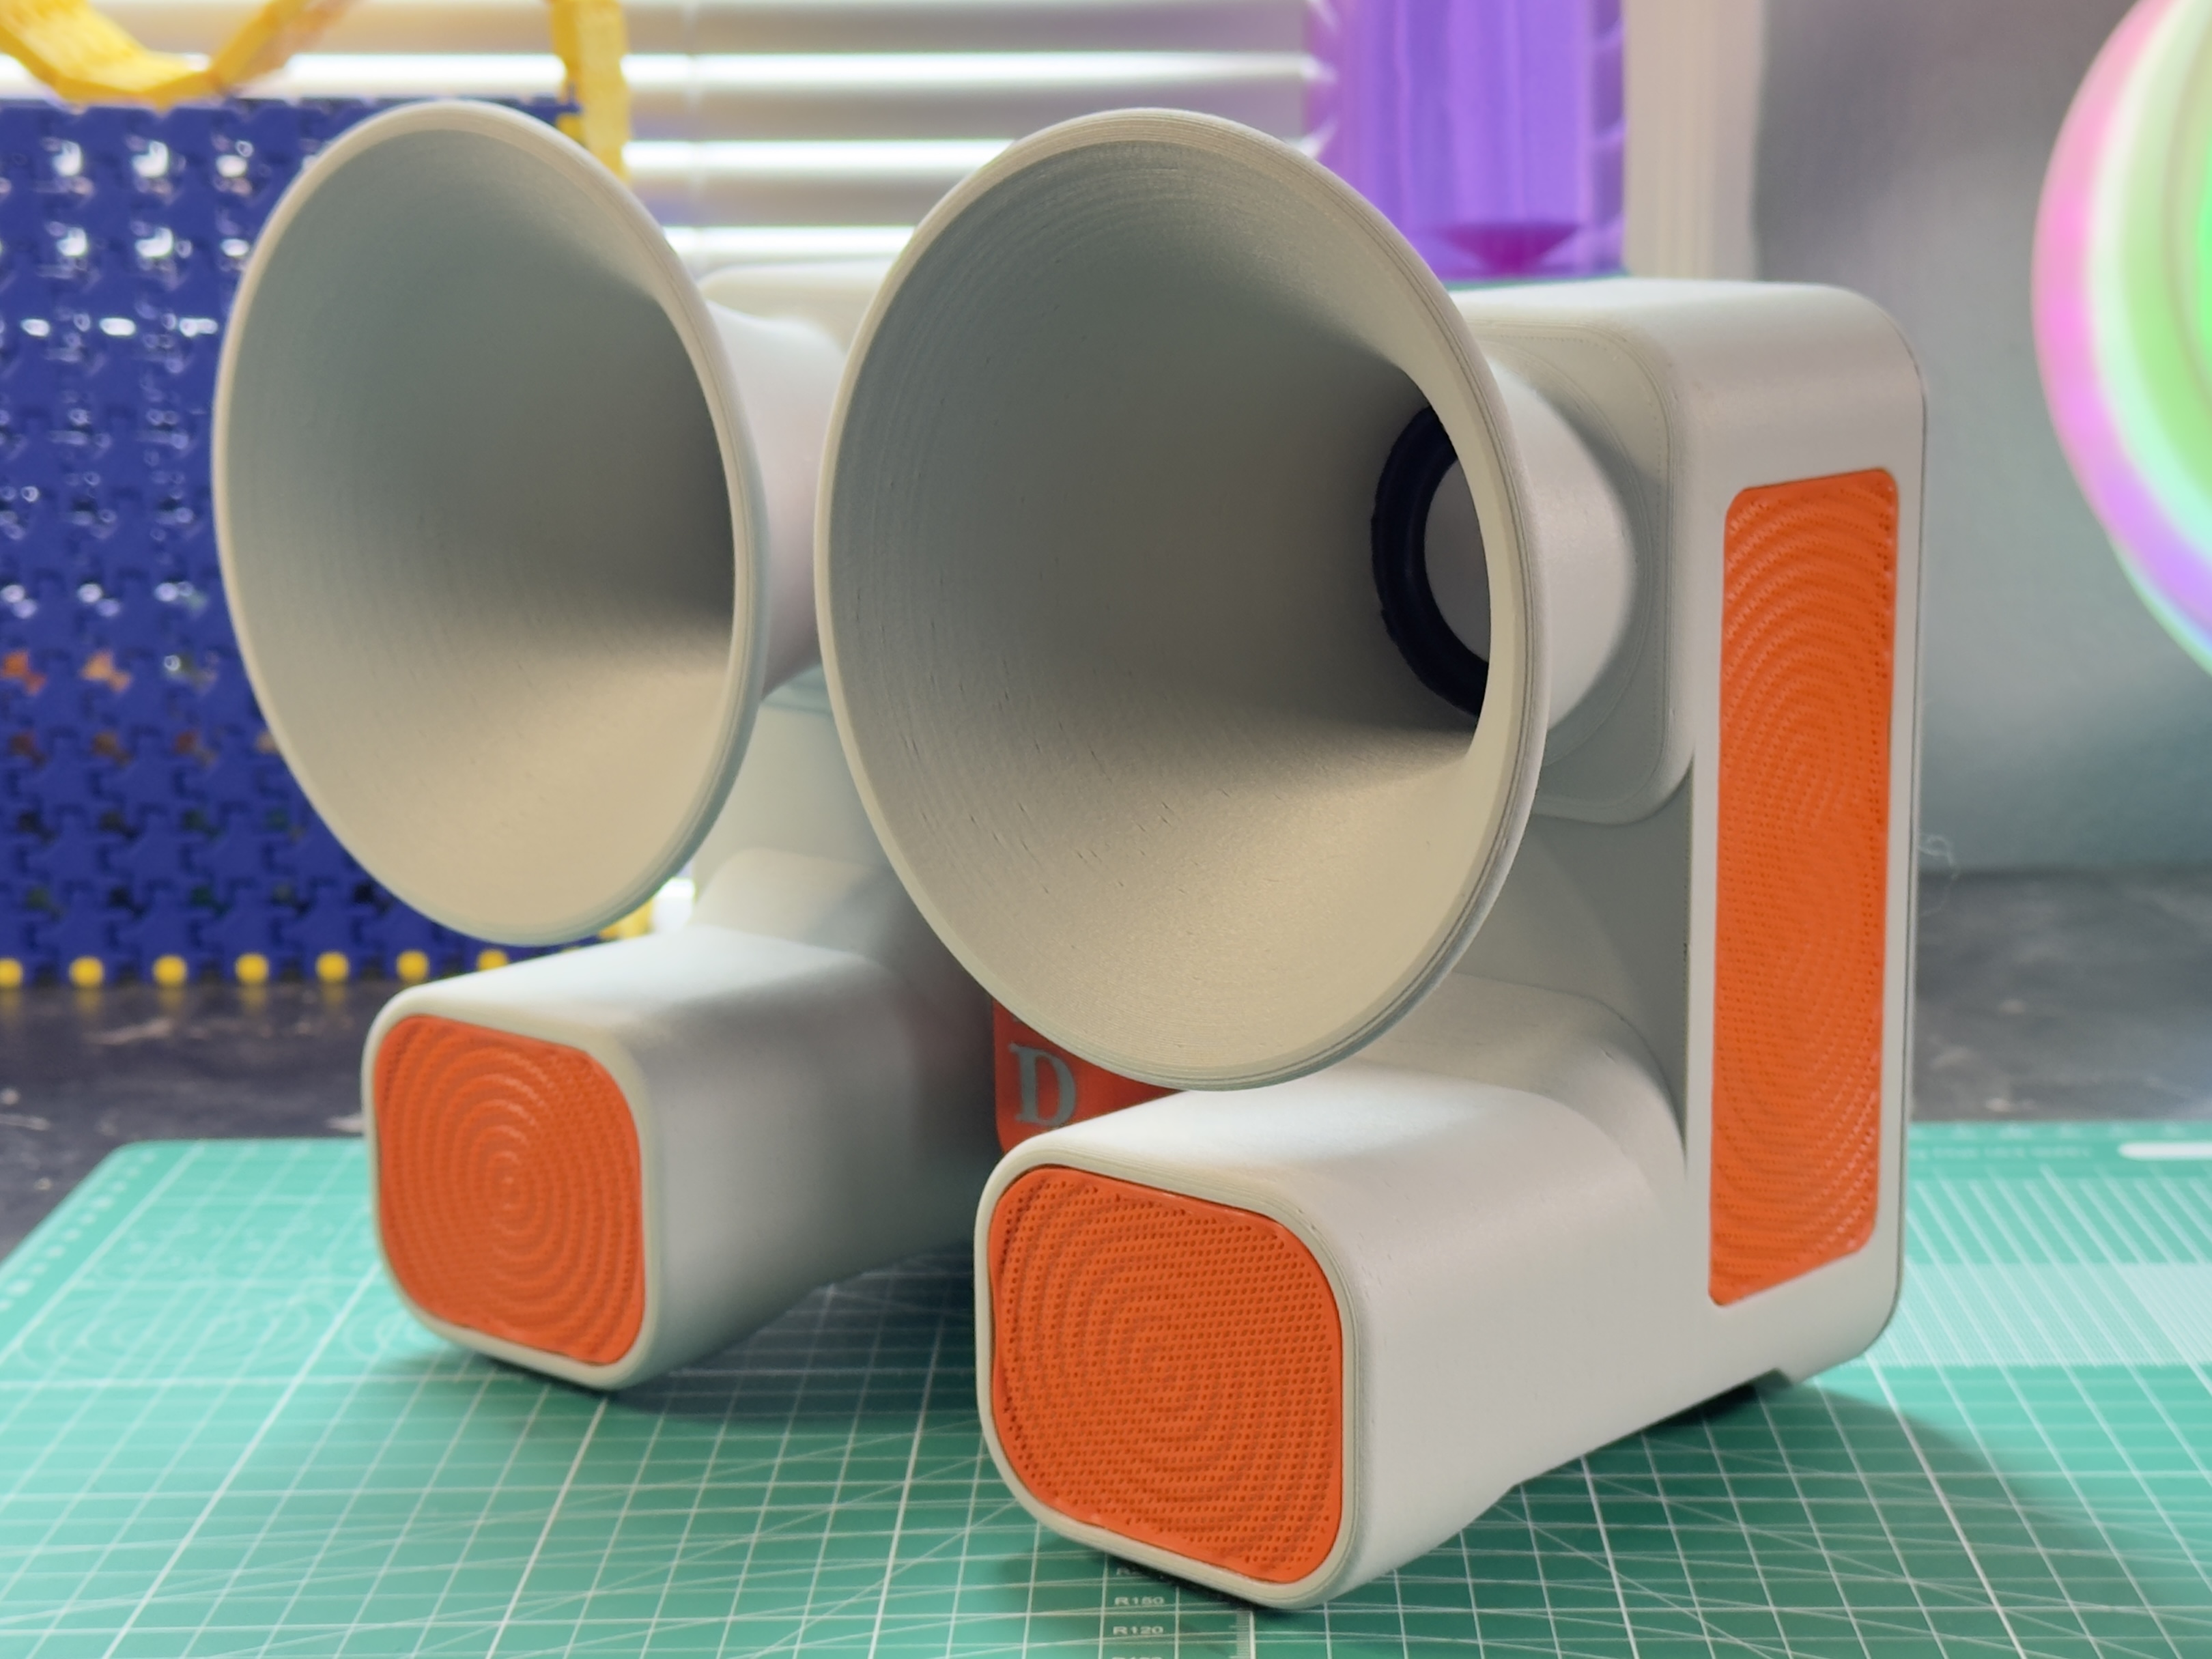
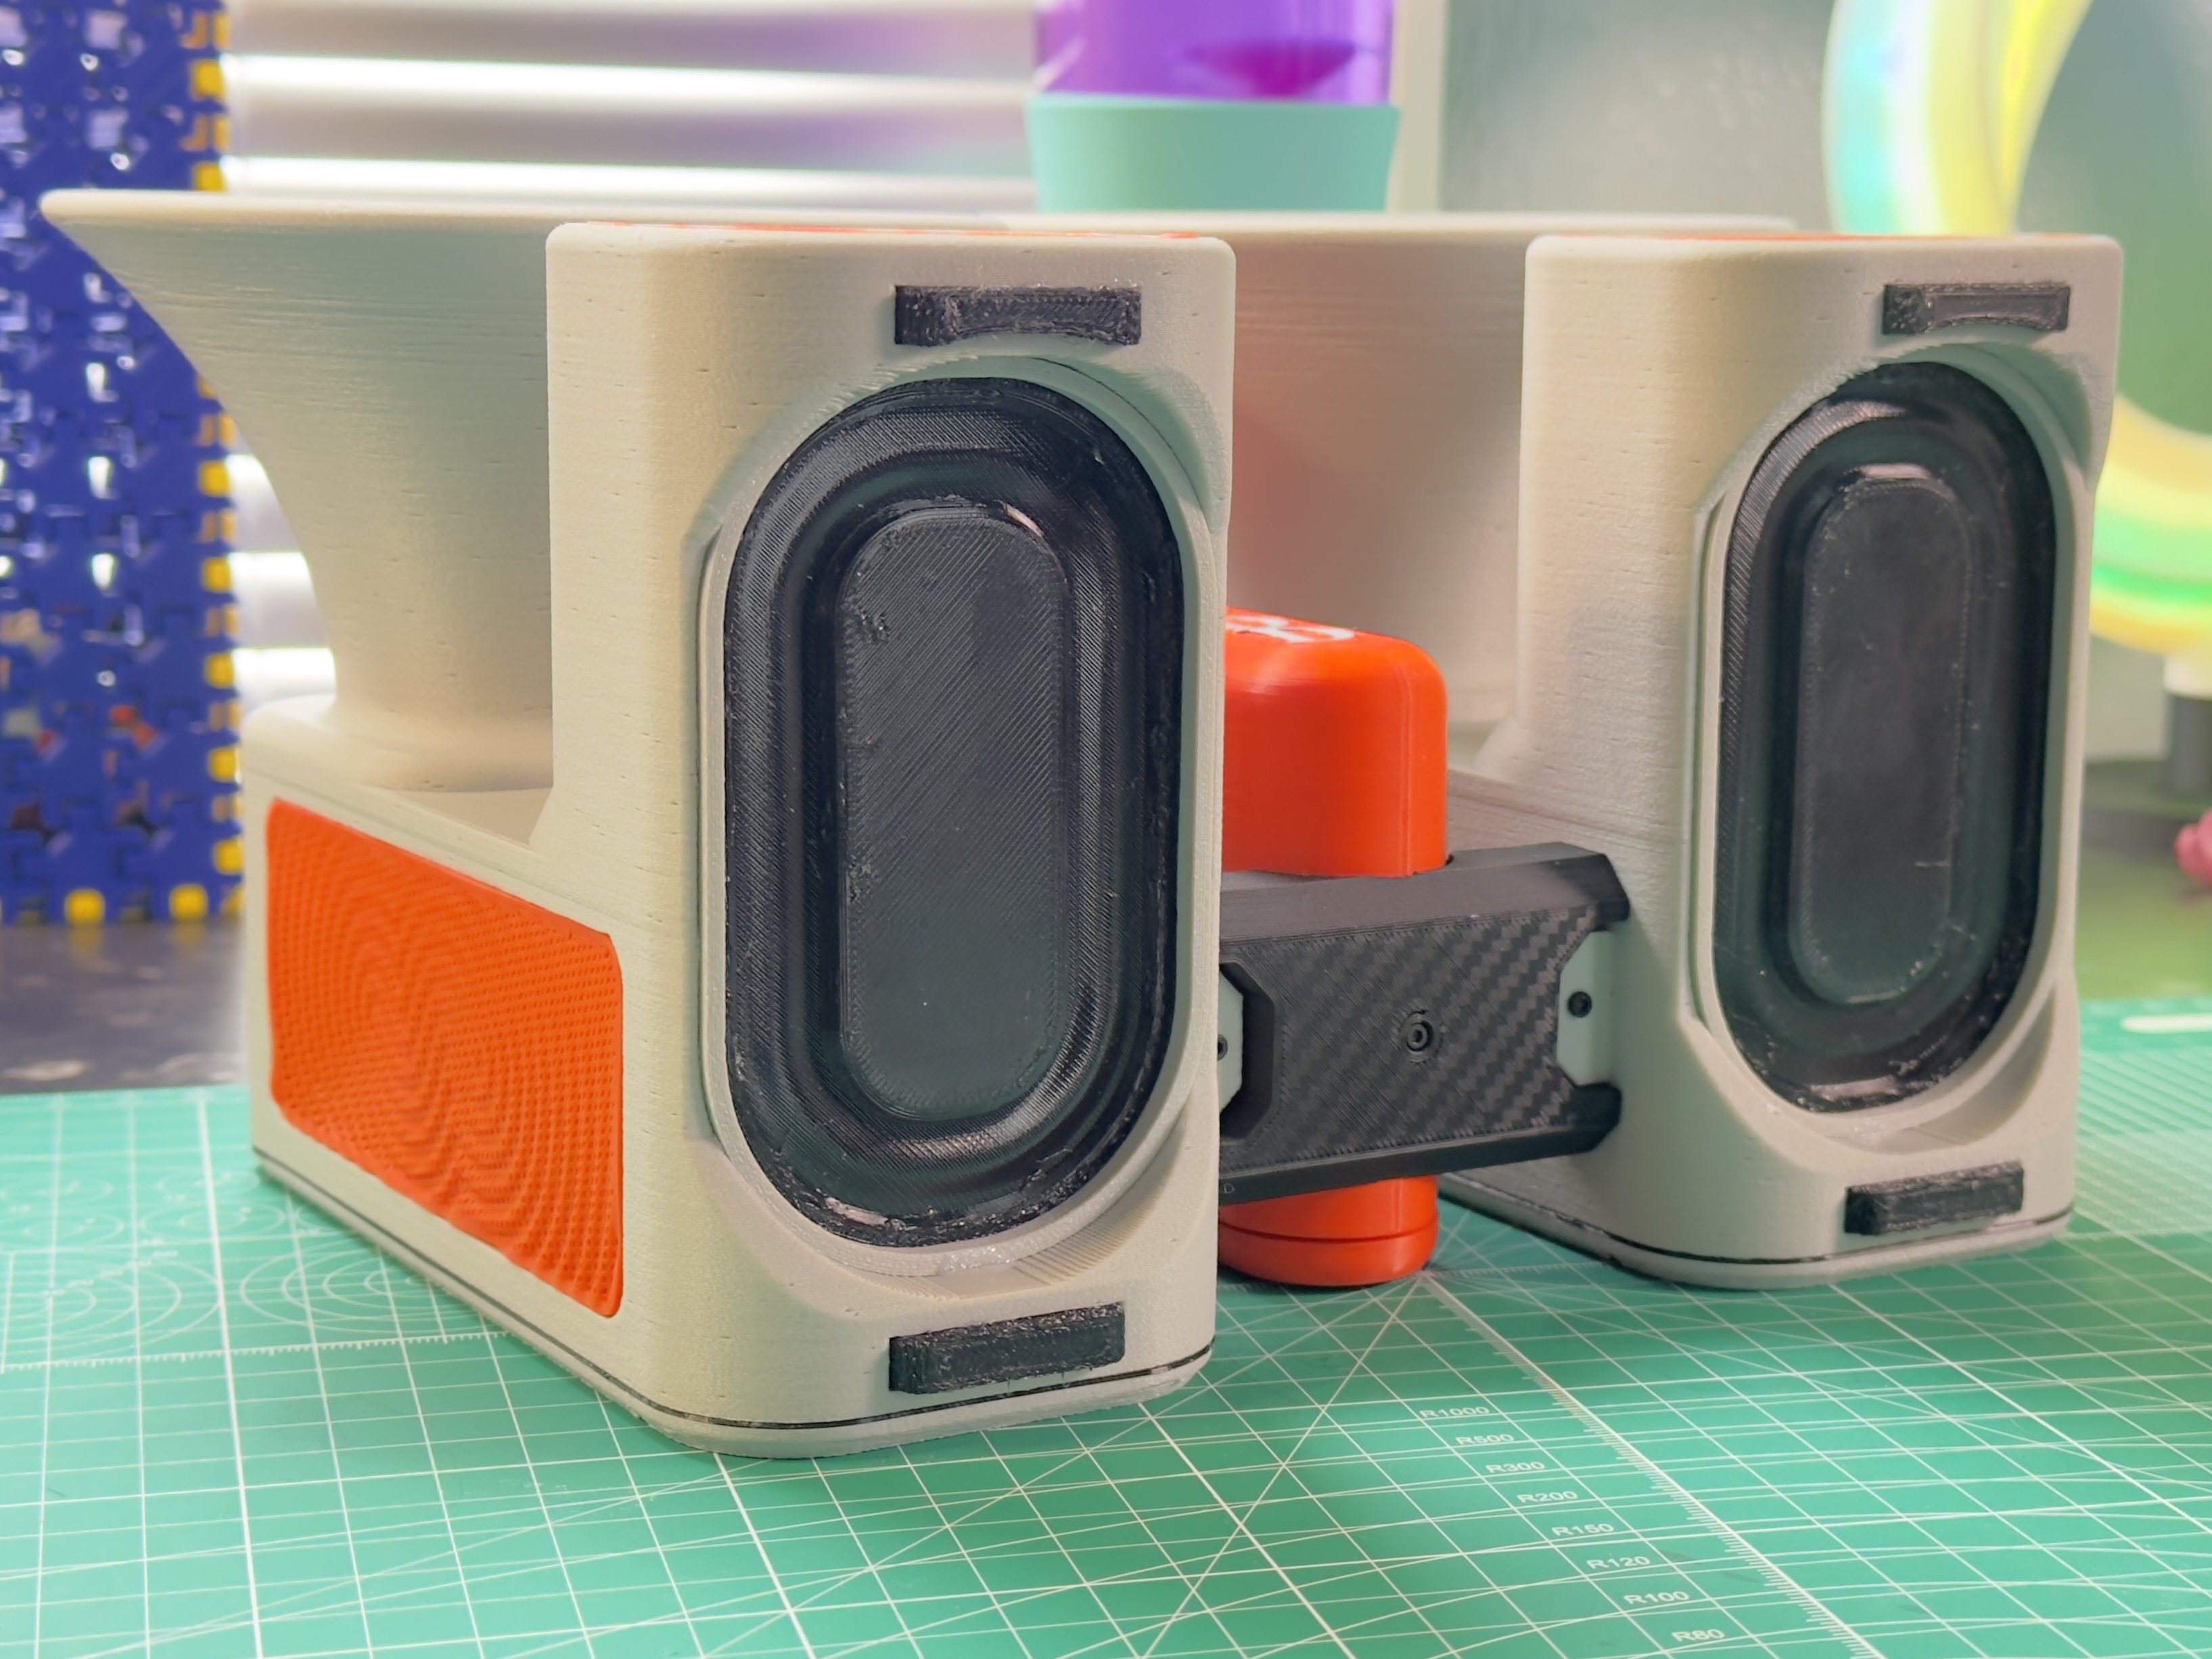
Welcome to the Tiny John! Inspired by the massive, room-dominating "Big John" horn setups taking over the audiophile world, I wanted to engineer that same dramatic acoustic presence into an affordable and desktop-friendly form factor. Don't let the "Tiny" name fool you, this speaker packs a serious punch. The sweeping dual front horns aren't just for aesthetics; they are engineered to dramatically improve acoustic performance and sound projection. Paired with bottom-mounted passive radiators, this enclosure delivers rich, room-filling audio from a compact, fully 3D-printable shell.
The purpose of this project goes beyond just putting a cool speaker on your desk. I want to kick off a fully-fledged community arms race. "Big John" dominated the internet by going as massive as possible, but I want to see who can engineer the absolute best, most acoustically impressive "Tiny John." Consider this the official gauntlet being thrown down. If you think you can remix, redesign, or optimize this acoustic setup to squeeze even more punch out of a compact footprint, I want to see it.
The Official Rules:
- Power Limit: Under 10W total power.
- Weight Class: Under 2KG total weight.
- The Maker Rule: The entire enclosure, horn system, and acoustic structuring must be fully 3D printed (only the bare-minimum electronics, drivers, and mounting screws are allowed).
Remix the files, push the limits of 3D Printing, and tag me in your builds. Let's see who can engineer the ultimate desktop featherweight.
Tiny John Key Features: - Acoustic Horn Design: Engineered for enhanced sound projection and clarity.
- Passive Radiator Setup: The Worlds first thermoformed 3D printed passive radiator! For deep, punchy bass response.
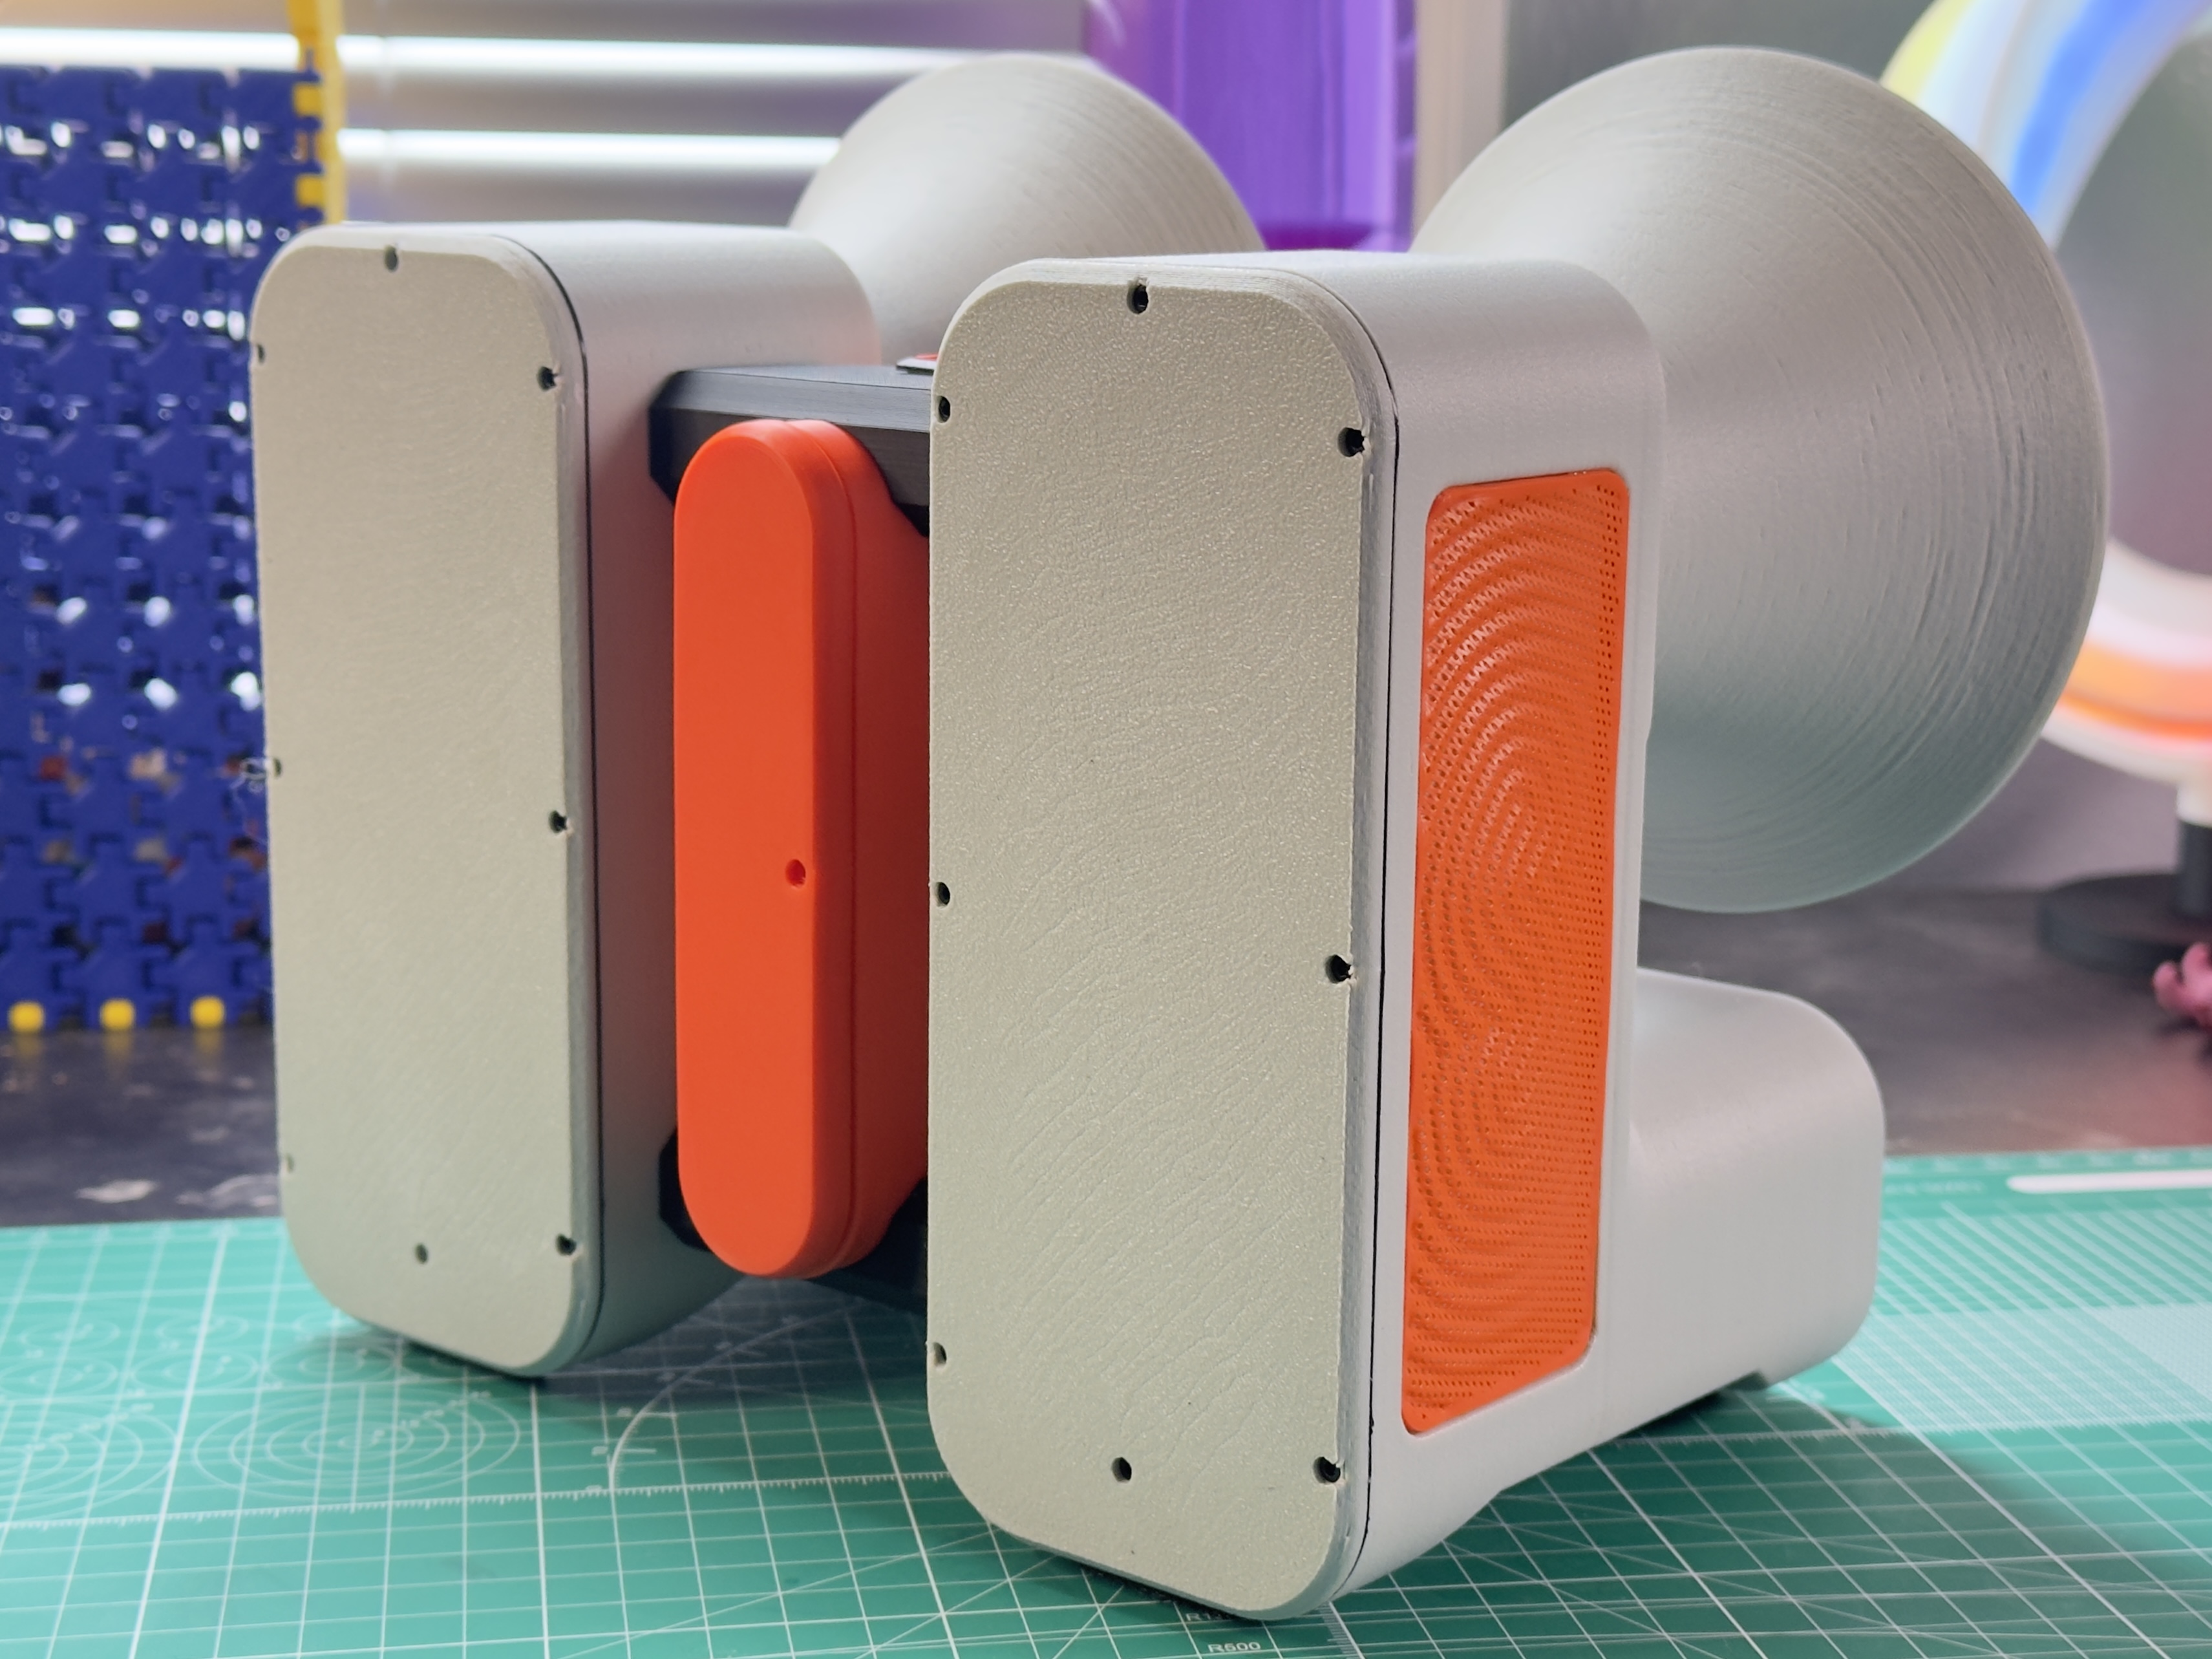
- Modular & Multi-Color Friendly: The design is split into logical components (horns, speaker enclosure, grills, central column) making it incredibly easy to print in your favorite colorways without needing an AMS/MMU.
- Custom Center Console: Houses the main power switch and acts as a rigid bridge for the dual acoustic chambers.
Hardware Required: - 1x DIY Bluetooth Kit (I purchased this one)
- 22x 2*8mm Self Tapping Screws
- 8x 3*5mm Self Tapping Screws
- 4x AA Batteries (Or MakerSupply USB Power Cable, need to flip the polarity first.)
Recommended Print Settings: - Material: Wood PLA, PETG Glass Fiber, or ABS/ASA Glass Fiber(For the best acoustic deadening, heavier/denser materials like ABS Glass Fill work great). 90A TPU
- Walls/Perimeters: 4-6 walls. (More mass = less unwanted resonance!)
- Infill: 30-50% Gyroid or Cubic for a dense, rigid enclosure.
- Supports: Organic supports are placed in the 3MF
- NOTE: 90A TPU IS USED IN THIS DESIGN. FLOW RATIO NEEDS TO BE AT 1.15 SO YOU GET A GOOD SEAL ON THE PASSIVE RADIATORS. IF ANY LEAKS FORM IN THE PRINT IT WILL RUIN THE BASS RESPONSE.
Assembly: Assembly Guide is still in progress. I will be uploading it tomorrow along with the thermoforming guide, and all the STEP files for this project so you may adapt it to your own.
License
