Model
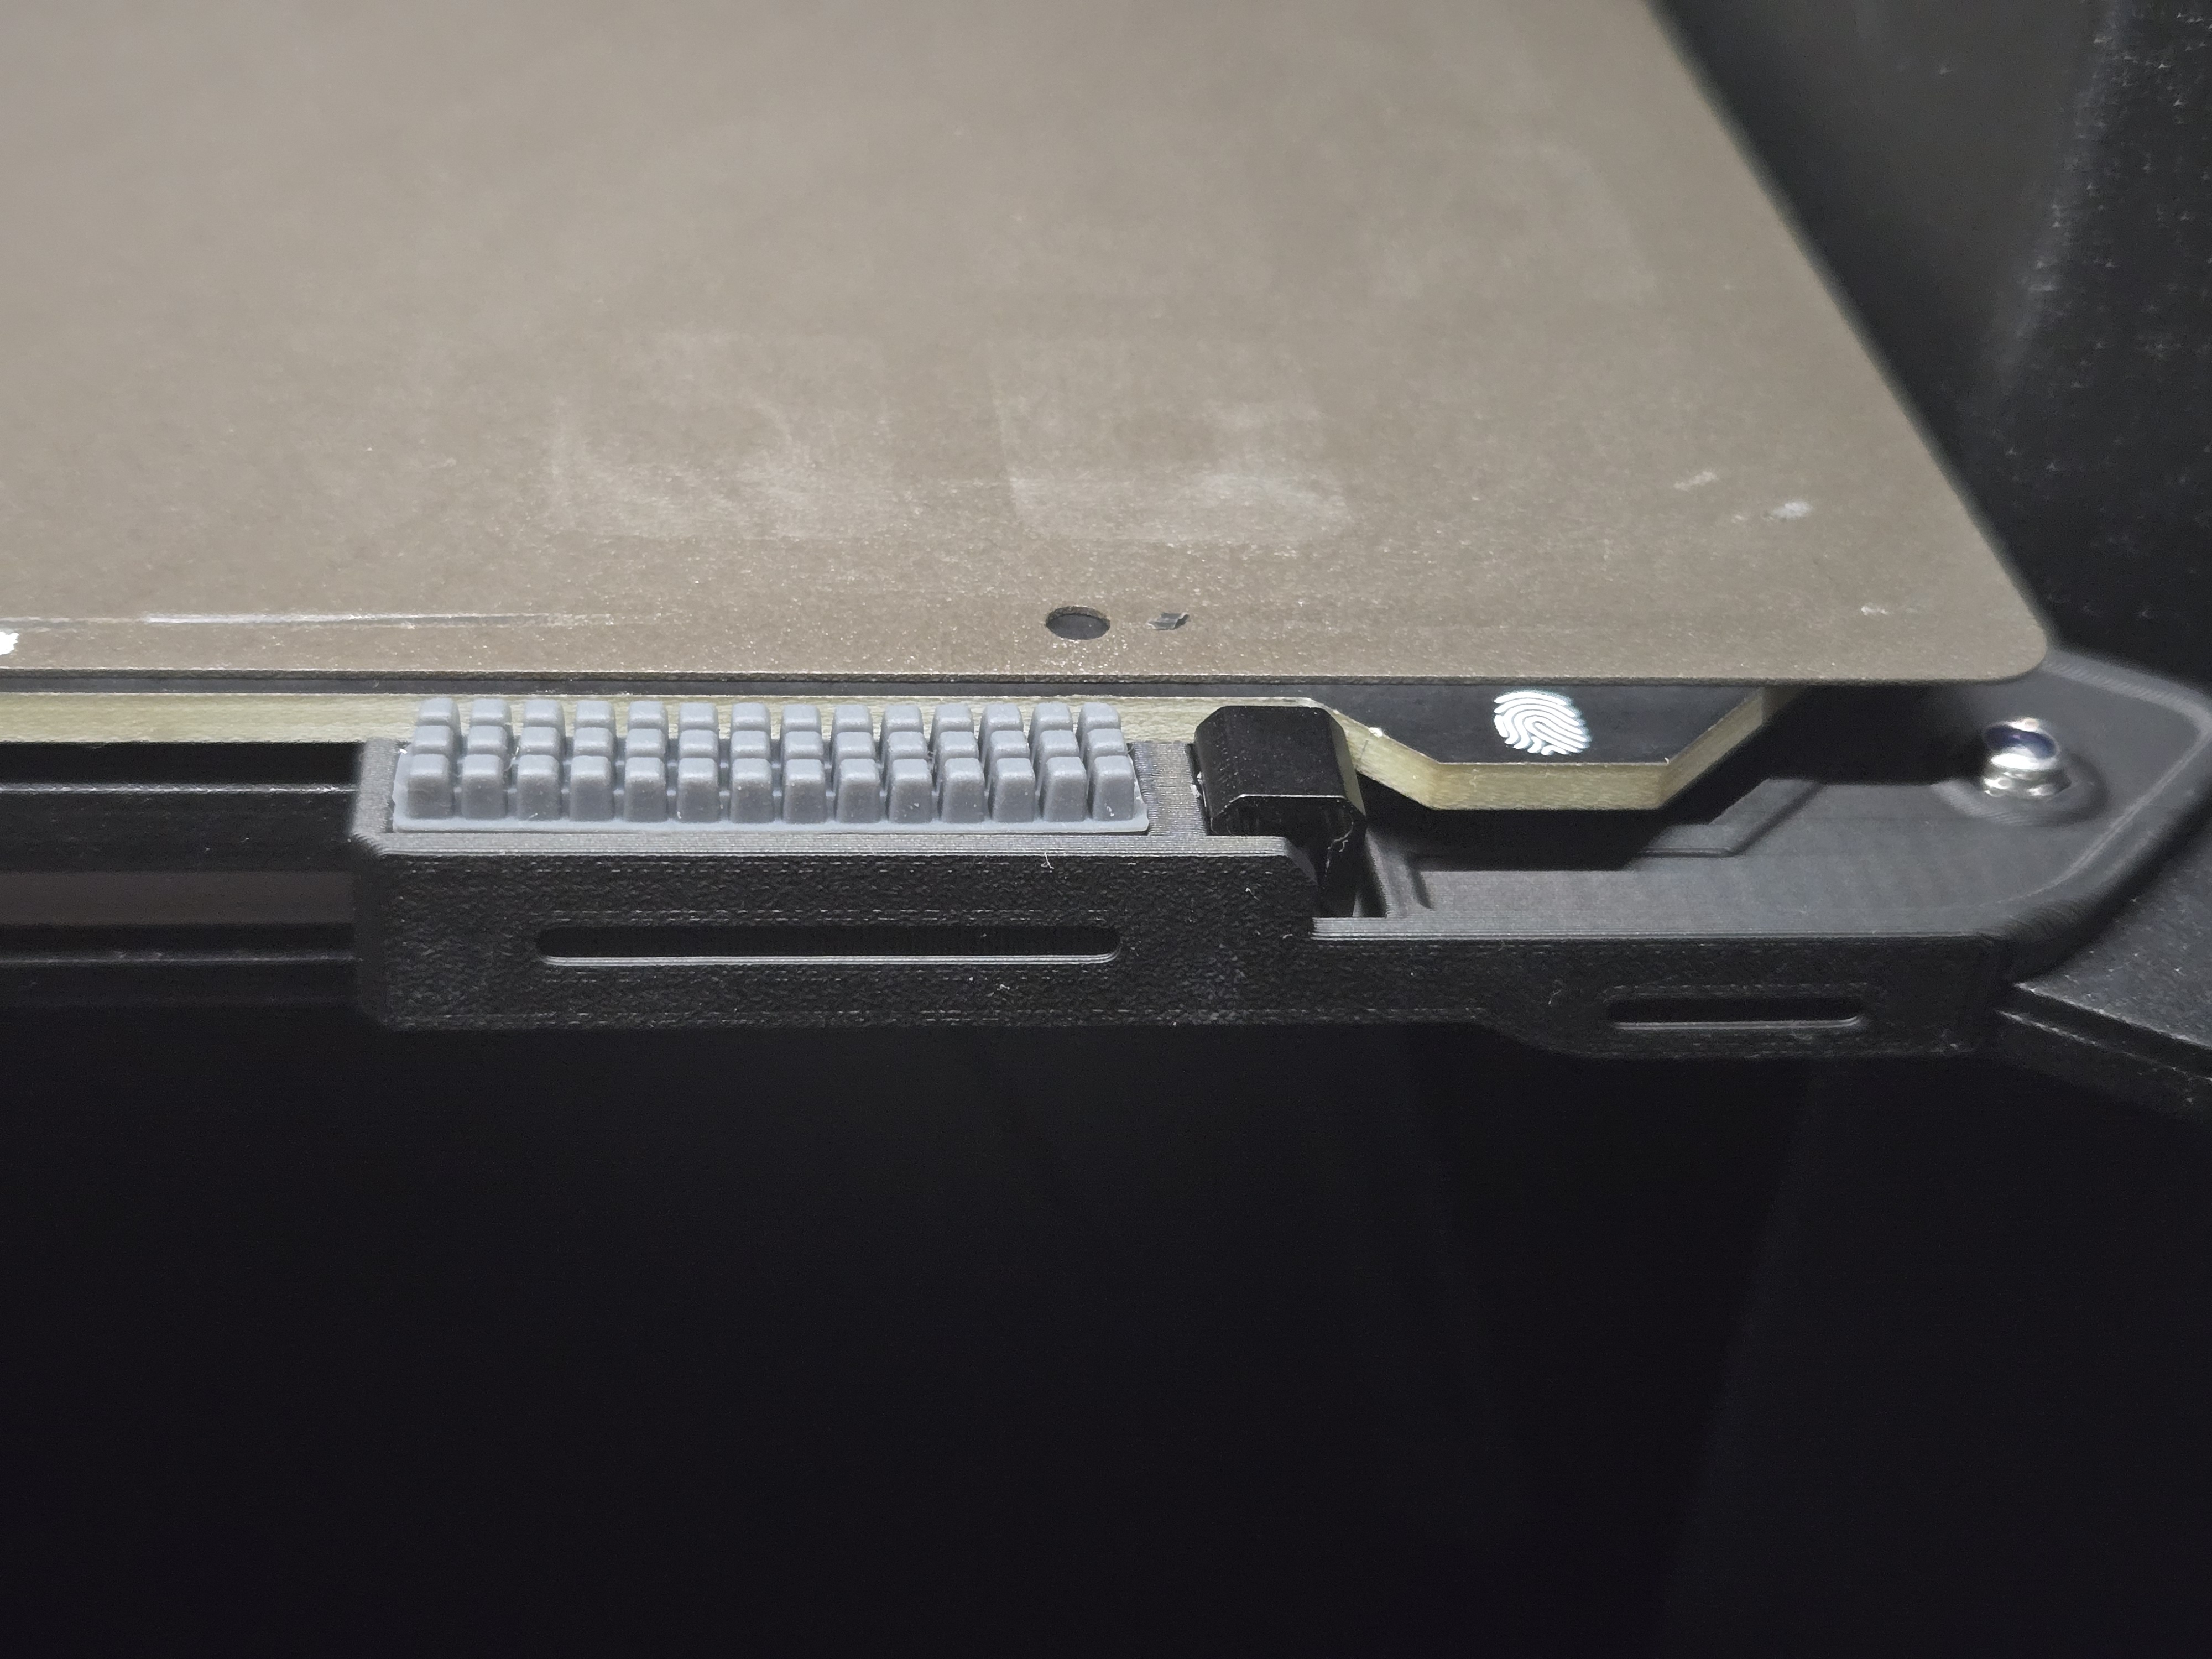
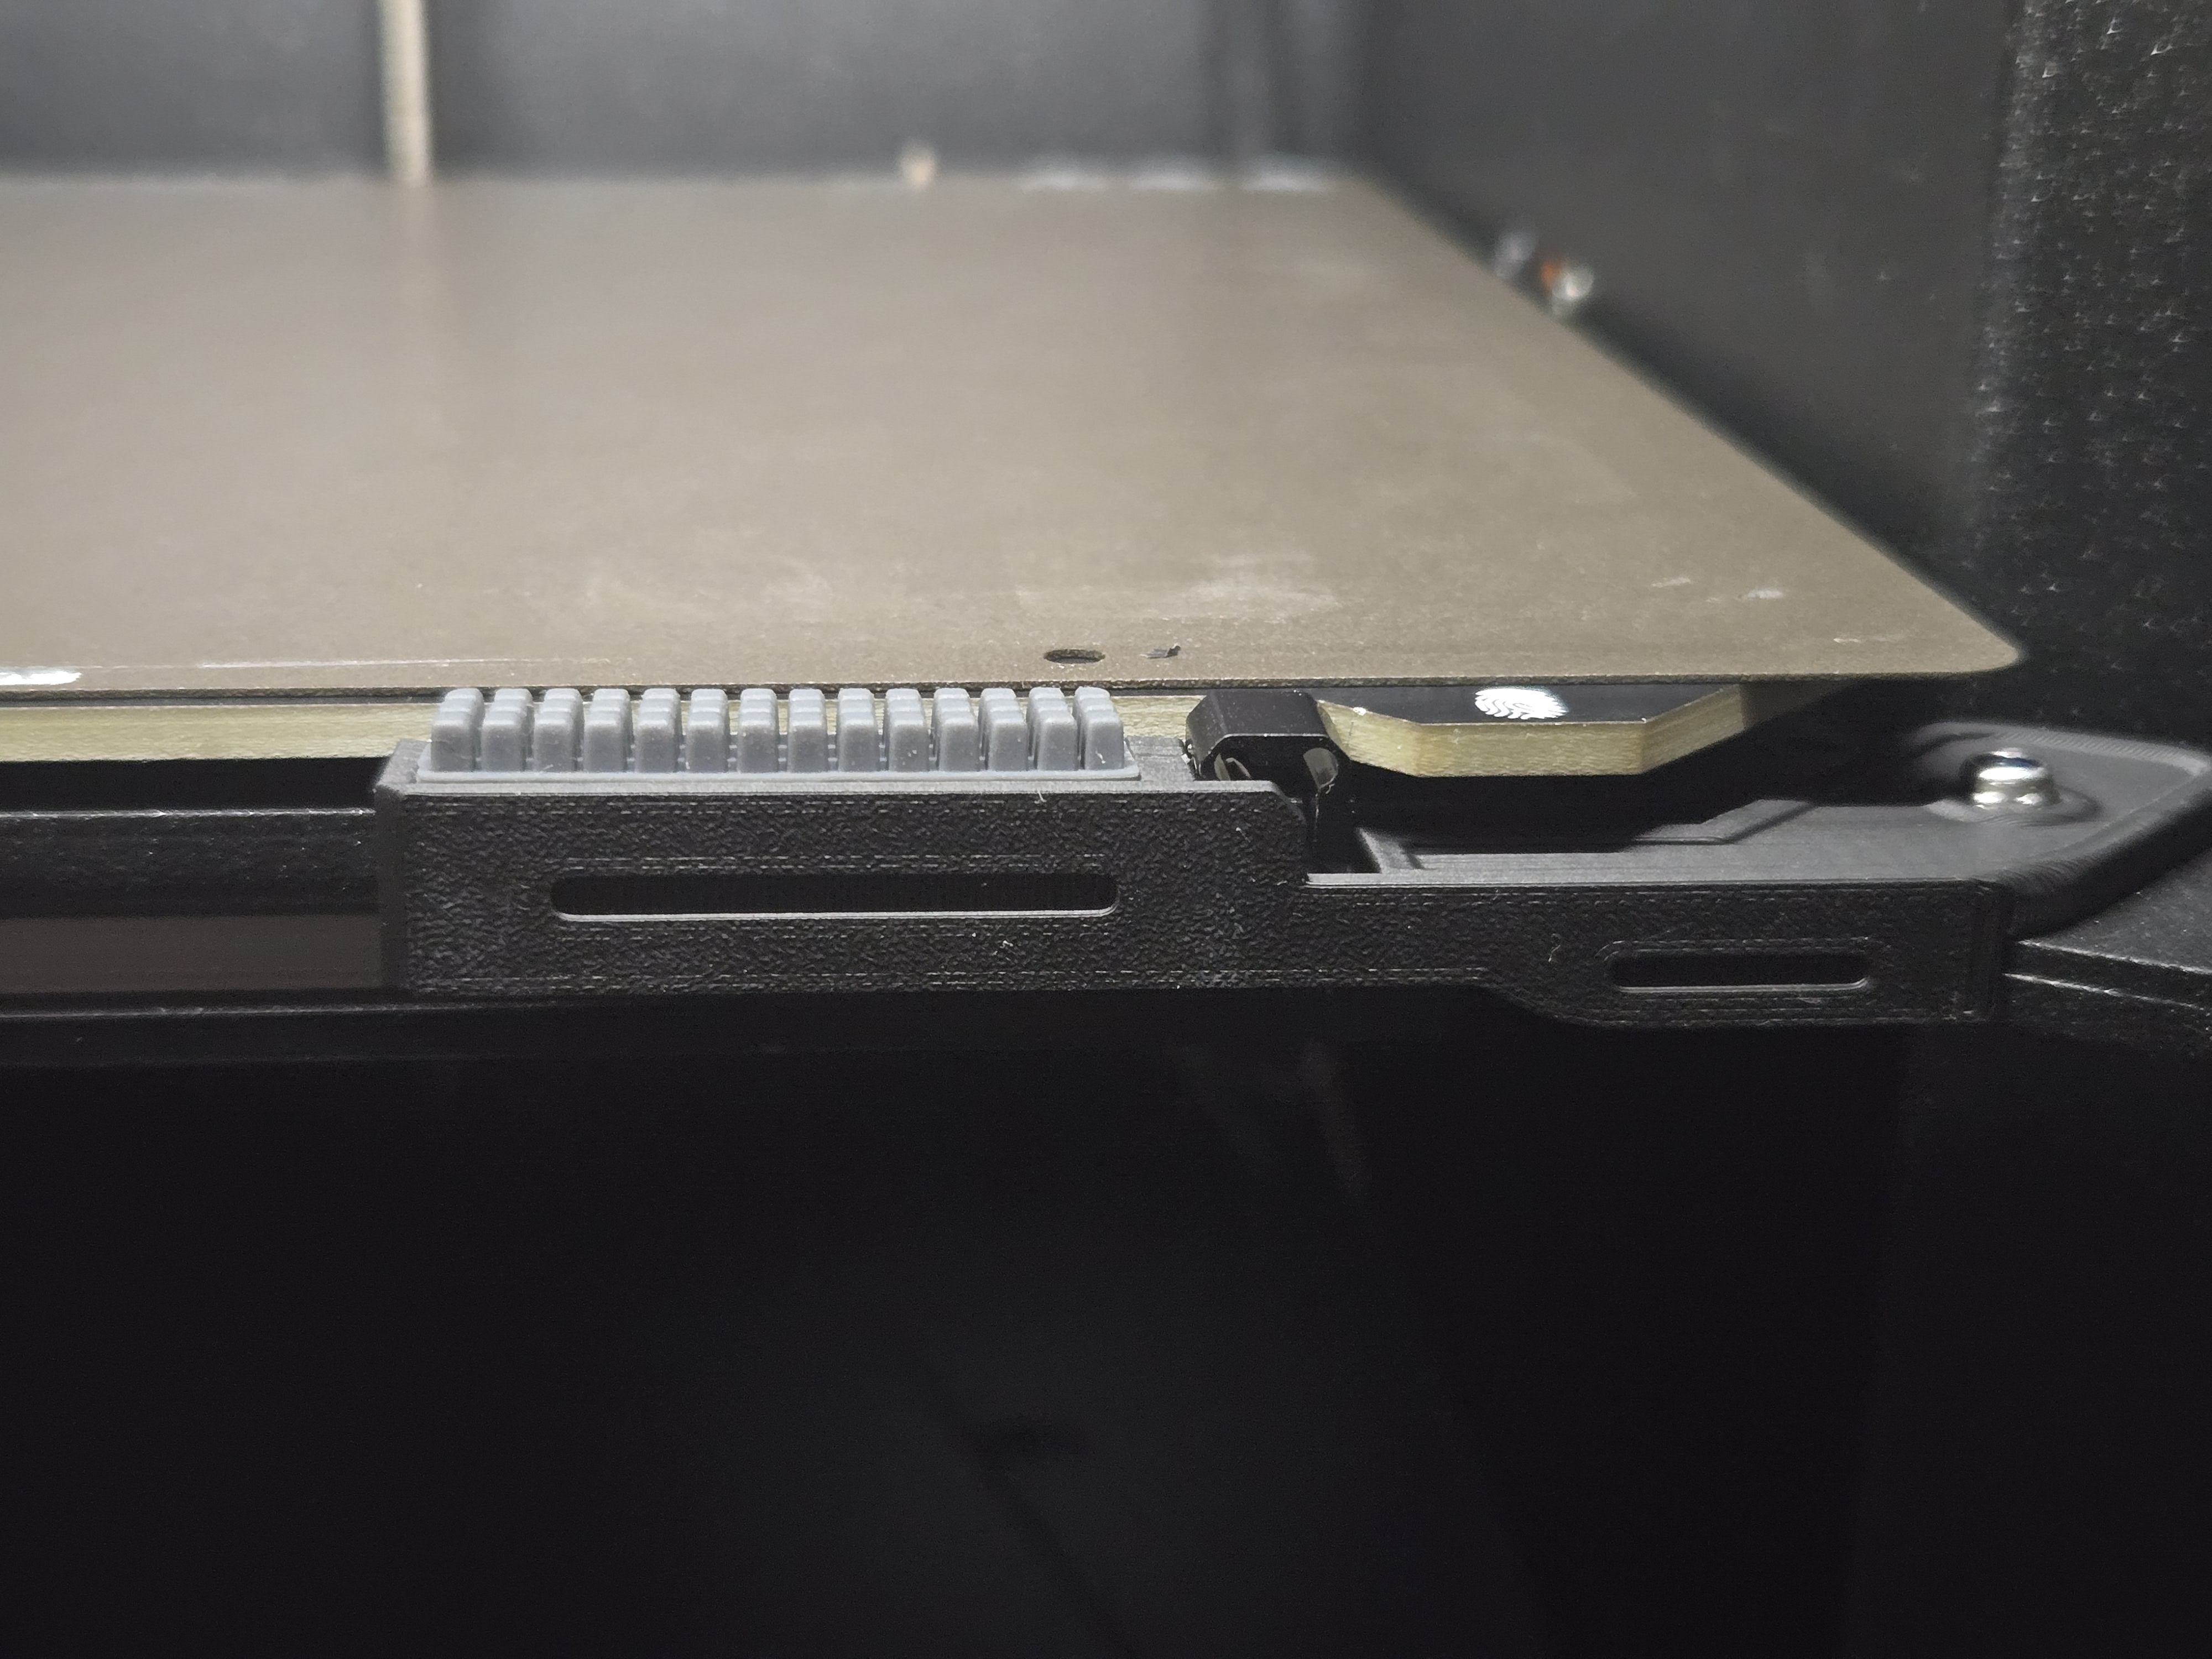
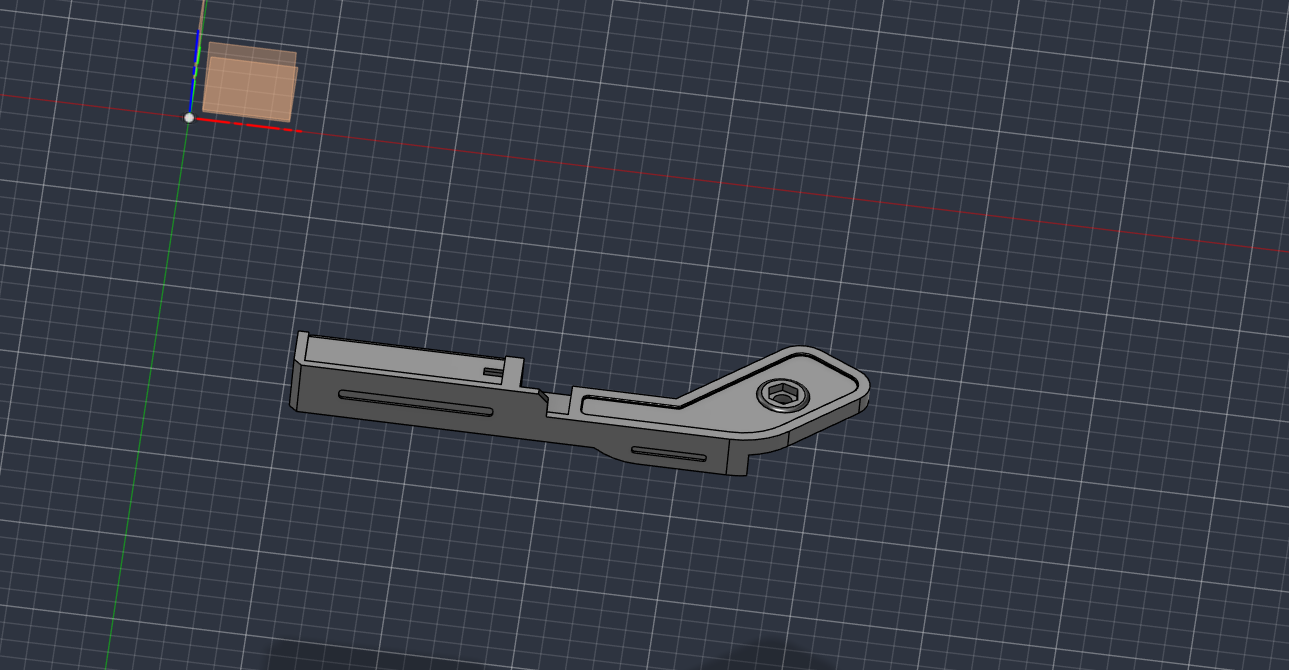
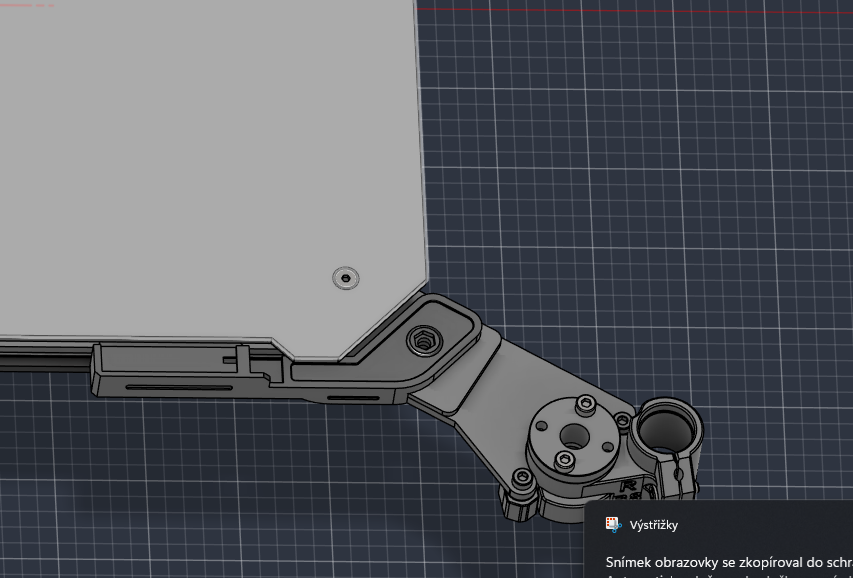
Prusa CORE One+ Gen 2 nozzle wiper holder
Description
Prusa CORE One+ Gen 2 Nozzle Wiper Holder
A community-made recreation of the Prusa CORE One+ Gen 2 nozzle wiper holder , designed to work with the native Prusa firmware cleaning routine .
This is not a remix or modification of an existing nozzle wiper model . I designed the entire holder from scratch using:
- nozzle-cleaning positions and movements found directly in the Prusa firmware,
- available CORE One CAD data,
- reference photos of the original Gen 2 nozzle wiper,
- my own measurements,
- physical testing on the printer.
The goal was to reproduce the functionality and mounting position of the original Gen 2 solution as closely as possible while keeping compatibility with Prusa's native firmware routine.
Why I made it
I ordered the official CORE One → Gen 2 upgrade kit when the estimated delivery time was approximately 3 days .
After placing and paying for the order, the estimated delivery was pushed back by roughly 5 weeks .
Since I already had firmware 6.8.1 installed, which includes support for the new Gen 2 nozzle wiper, I didn't want to wait another five weeks just to use this feature.
So I decided to design the holder myself.
Firmware compatibility
Designed for Prusa CORE One / CORE One+ with firmware 6.8.1 or newer compatible firmware .
After installation, enable:
Settings → Hardware → Nozzle Wiper
The native cleaning routine can also be manually tested using:
G12
No custom start G-code, modified cleaning coordinates or custom wipe macros are required.
The printer uses the native Prusa nozzle-wiper routine.
Installation
The holder is designed to be installed in the same location and in the same way as the original Gen 2 nozzle wiper shown in Prusa's official CORE One → Gen 2 upgrade instructions .
For the physical installation, I recommend following the official Prusa Gen 2 upgrade guide.
The assembly also uses an expansion joint next to the wiping area , just like the original Prusa Gen 2 solution.
The expansion joint acts as the fixed nozzle touch/reference point used by the cleaning routine, so its position is important for correct operation.
Required parts
You will need:
- the printed nozzle wiper holder,
- silicone nozzle wiping insert/pad,
- expansion joint,
- M3 hardware used for the Gen 2-style installation.
The design follows the same basic mounting concept as the original Gen 2 assembly.
Printing instructions
IMPORTANT – printing orientation Do not use the orientation stored in the STL file as the printing orientation.
I accidentally exported the STL in the wrong orientation.
Before slicing, rotate the model so that the large flat side of the holder is placed directly on the build plate .
This is the intended printing orientation.
Printing it this way provides:
- better layer orientation,
- better mechanical strength,
- good bed contact,
- cleaner surfaces,
- little or no need for supports.
Recommended materials ASA / ABS – recommended
These materials offer good temperature resistance and are well suited for use inside an enclosed CORE One.
PETG – suitable for normal use
PETG should work well, but if you regularly print high-temperature materials with a hot bed and heated chamber, I recommend ASA or another more temperature-resistant material.
PC / other engineering materials – also suitable
A good option if your printer and profile are already tuned for these materials.
Suggested slicer settings - Layer height: 0.20 mm
- Perimeters: 4–5
- Top/bottom solid layers: 5
- Infill: 30–40%
- Infill pattern: Gyroid, Grid or similar
- Supports: normally not required when printed in the correct orientation
- Brim: optional
Good layer adhesion is more important than extremely high infill.
Approximate model dimensions:
107 × 30 × 14 mm
First installation and G12 test
After installing the holder, I strongly recommend performing the first G12 manually while watching the printer.
Before testing:
- Make sure the holder is firmly mounted.
- Check that the silicone wiping insert is correctly installed.
- Check the position of the expansion joint.
- Make sure there is sufficient clearance between the holder, heatbed and steel sheet.
- Home the printer.
- Enable Settings → Hardware → Nozzle Wiper .
- Run G12 .
- Watch the complete cleaning sequence and be ready to stop the printer if anything looks incorrect.
The nozzle should follow the native firmware cleaning path and correctly contact the wiping area.
How this model was created
Because the official Gen 2 STL/STEP holder was not publicly available when I started this project, I created the geometry independently.
I did not simply trace the holder from a photograph.
The position of the wiping area was determined using the actual cleaning movements and positions from the Prusa firmware and then matched against the available CORE One CAD geometry.
The holder geometry was then created from scratch and refined through physical testing.
No original Prusa STL or STEP file was used to create this model.
Disclaimer
This is a community-designed replacement and not an official Prusa Research part .
Although the model was designed around the native firmware routine and tested physically, installing modified parts on your printer is done at your own risk.
I recommend carefully observing the first G12 cycle after installation.
Feedback
If you print and test this holder, I would really appreciate your feedback.
I'm especially interested in:
- whether G12 correctly hits the wiping area,
- wiping pressure,
- clearances,
- possible collisions,
- which material you used,
- long-term durability.
If you already own the official Gen 2 upgrade kit, a direct comparison with the original Prusa holder would be especially useful.
Feel free to post photos, measurements or suggestions in the comments.
License