
Model
Hotswap Disk Sled for Crappy Rosewill RSV Series Server Cases
Description
Did you also make the mistake of buying a Rosewill RSV-4412 server case or RSV-SATA-Cage-34 panel-mount case? If so, did you realize Rosewill doesn't sell spare disk caddies? If not, did you notice how flimsy the sleds are, and how breakable that little catch point hole looks? If not, is your return window still open? If you're still here, welcome to the elite club of gullible nerds who also want to 3D print the HDD sleds Rosewill refuses to sell.
Honestly, this turned out so well, it actually makes the Rosewill products fairly good. I don't want them to get more sales, but I DO want you to download this model, so it's up to you to break the tie.
This was a demo project for a video about copying real-life objects, and is a drop-in replacement for the real deal. Mine's actually better, if you'll forgive me tooting my own horn. Toot toot! I'll put the video URL here after it goes live.
I even made accessories! Here's a protective sleeve to defend your data, and here's a massive stackable Gridfinity block that fits four of these puppies.
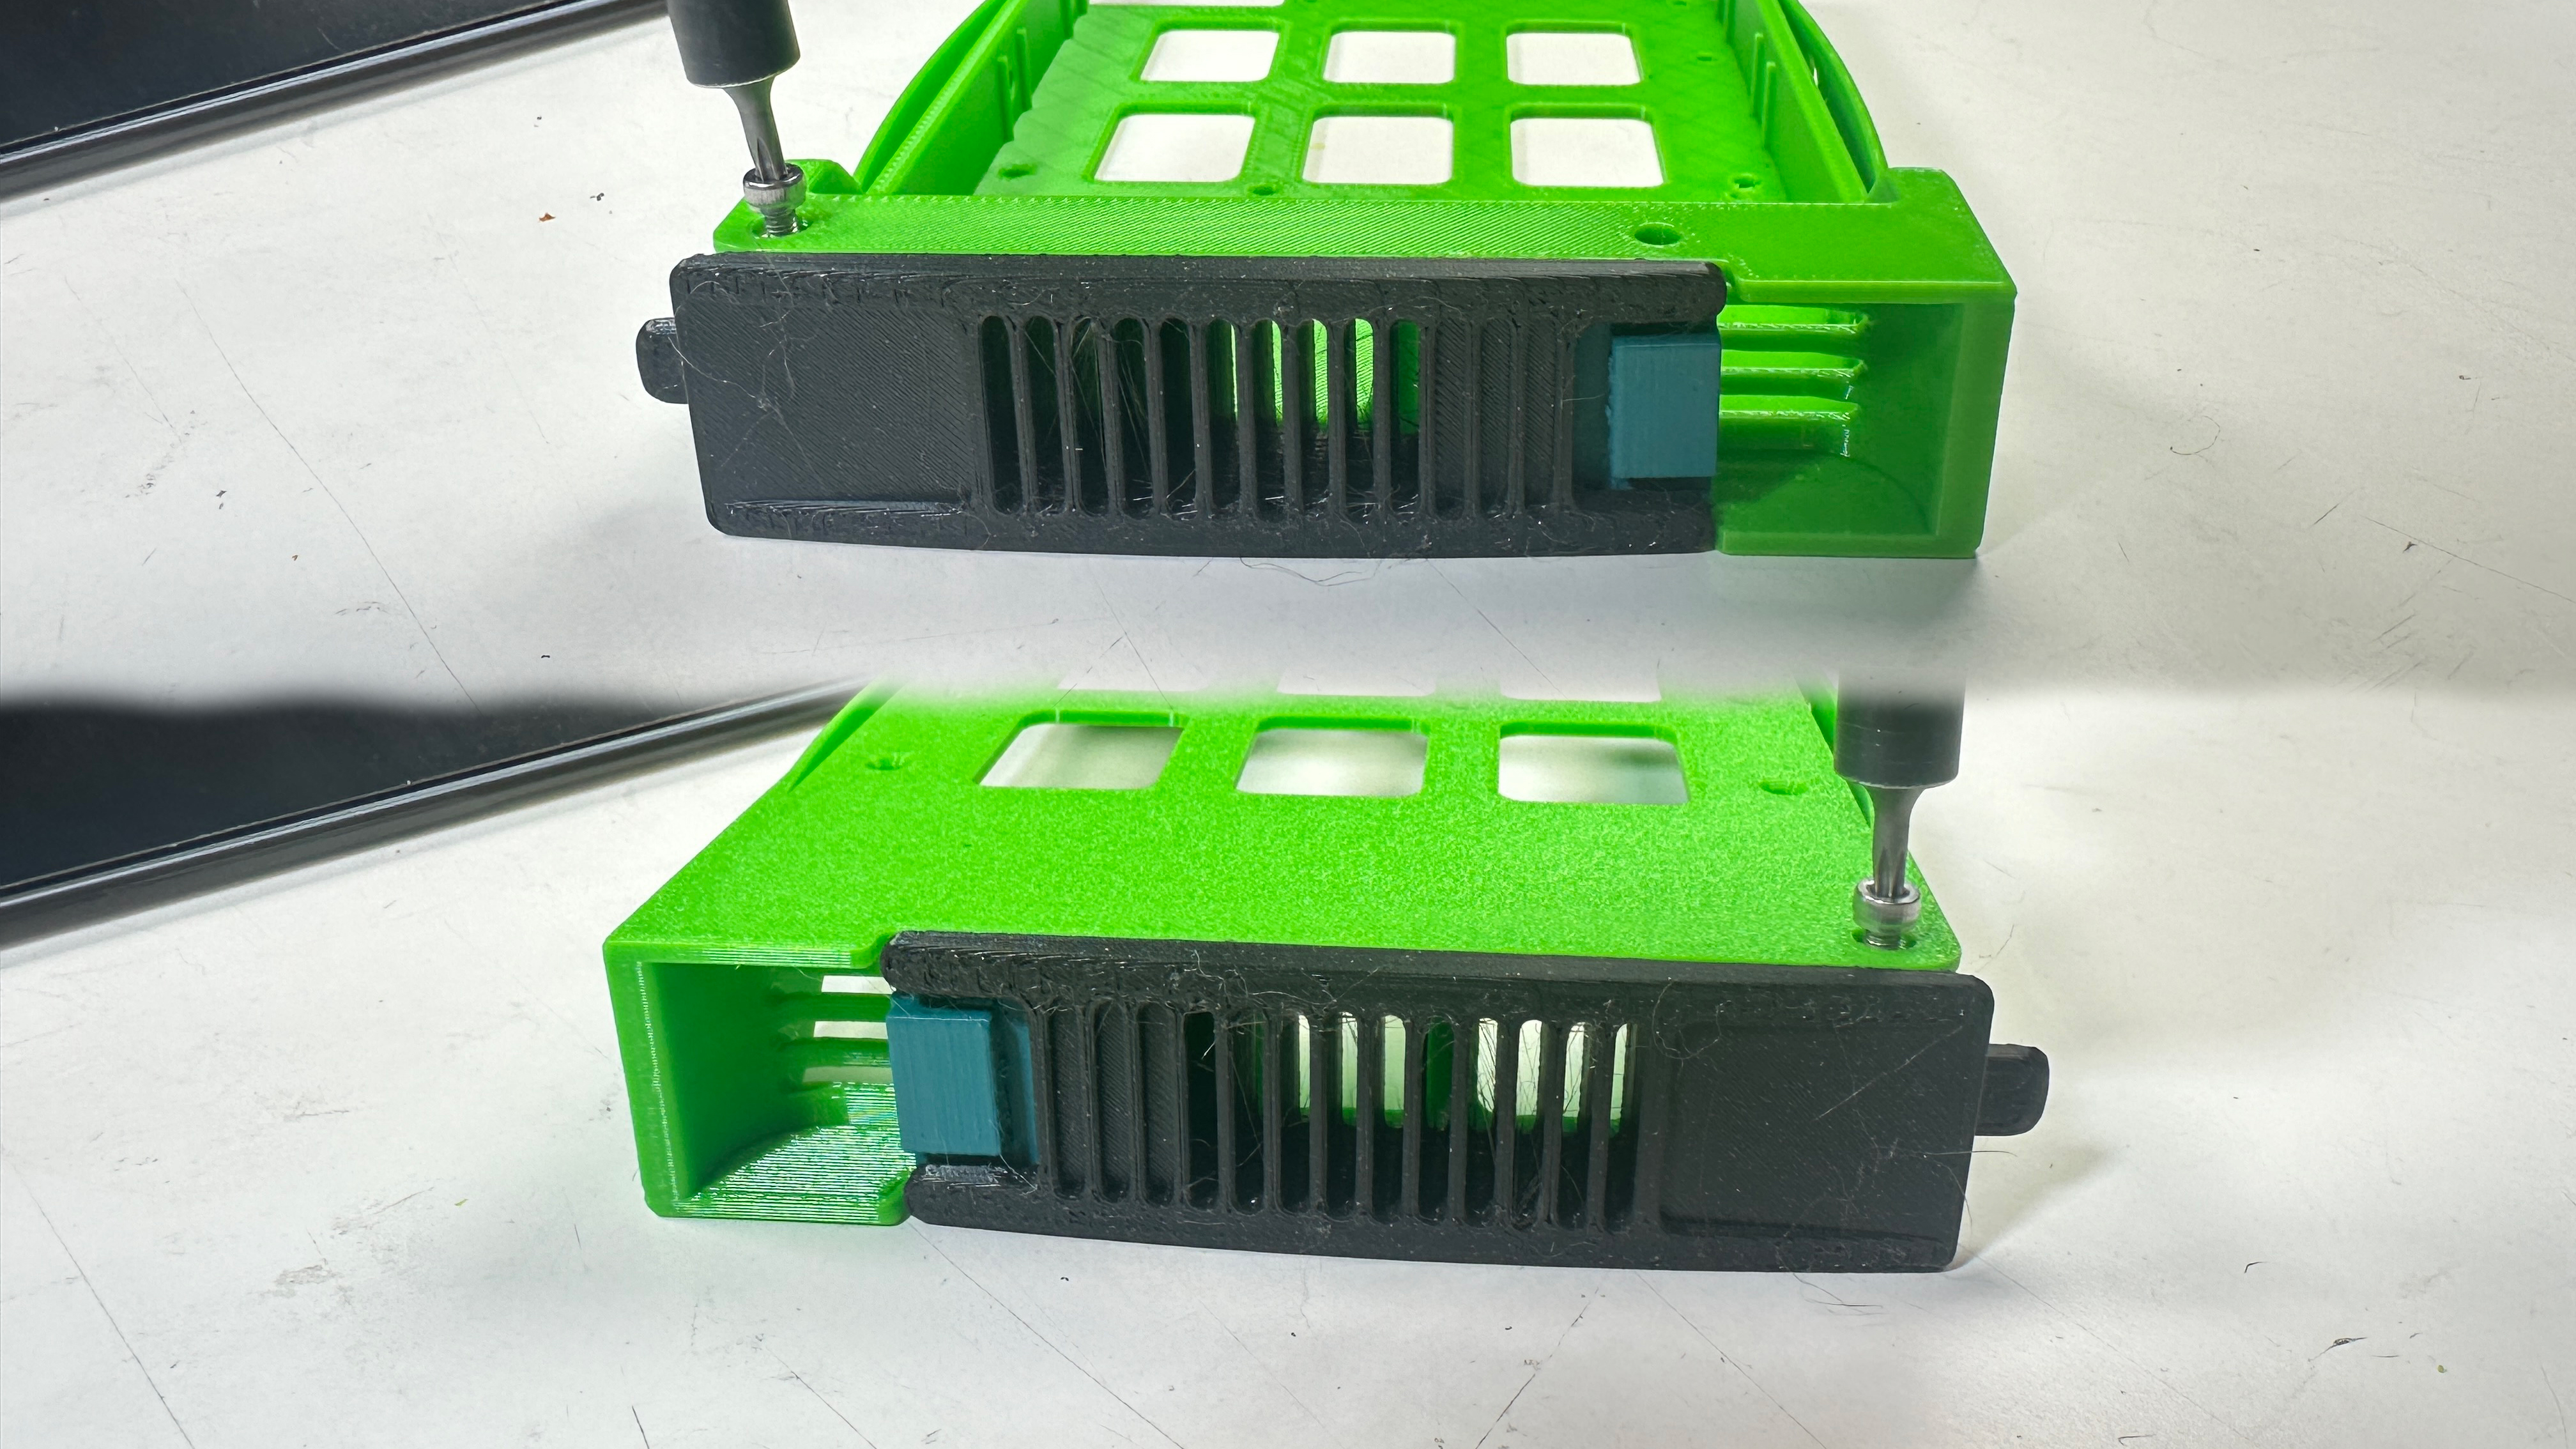
Stuff you'll need:
- One of each part (Frame, Lever, and Latch)
- 2x M3 socket-head cap screws, 4-12mm
- 2x M3 screws, any head, 5mm
- 1x M2x20 screw
- 1x compression spring, 3mm OD, 10-15mm length
- 1x compression spring, 8-10mm OD, 20-30mm length
- 4x hard disk mounting screws (usually 1/4" 6-32, depends on the drive)
Printing guidelines:
- Use a heat-resistant filament like ABS or PCTG
- Boost that bed adhesion, this baby warps like the ship in Spaceballs
- All parts need supports everywhere
- No particular perimeters/infill/layer settings
- Tidy up all parts after printing so things move smoothly
Assembly:
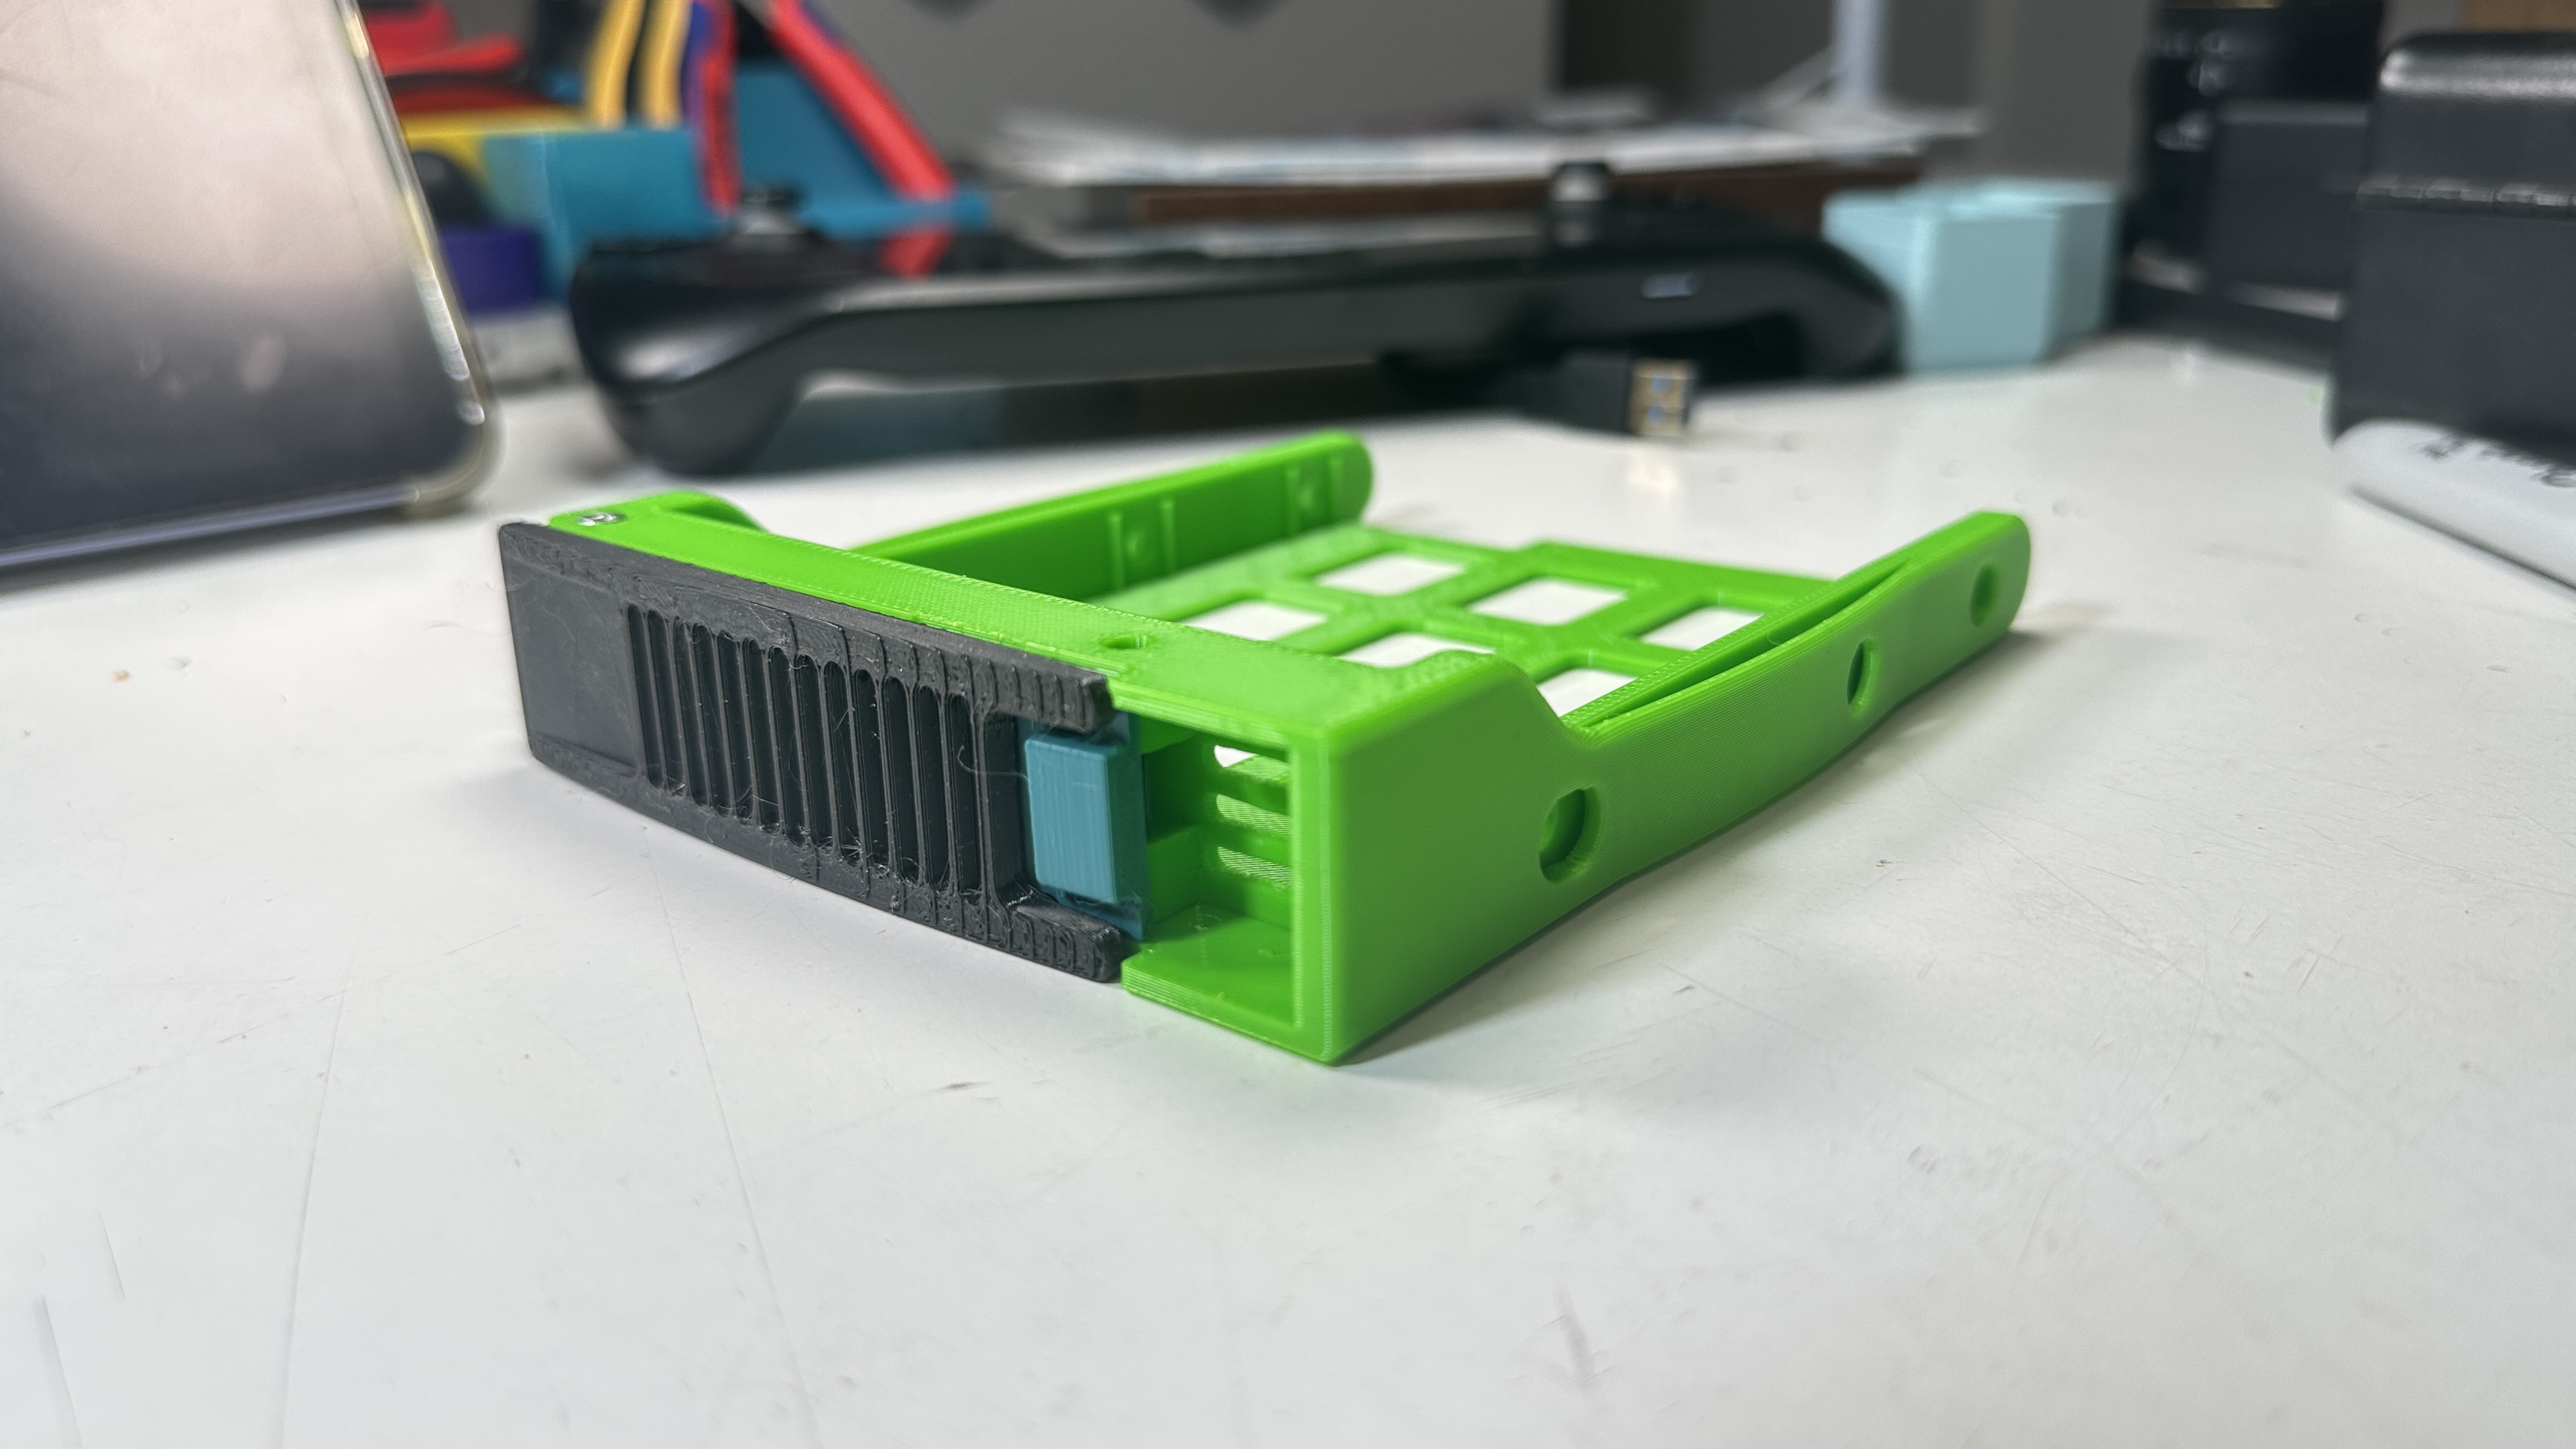
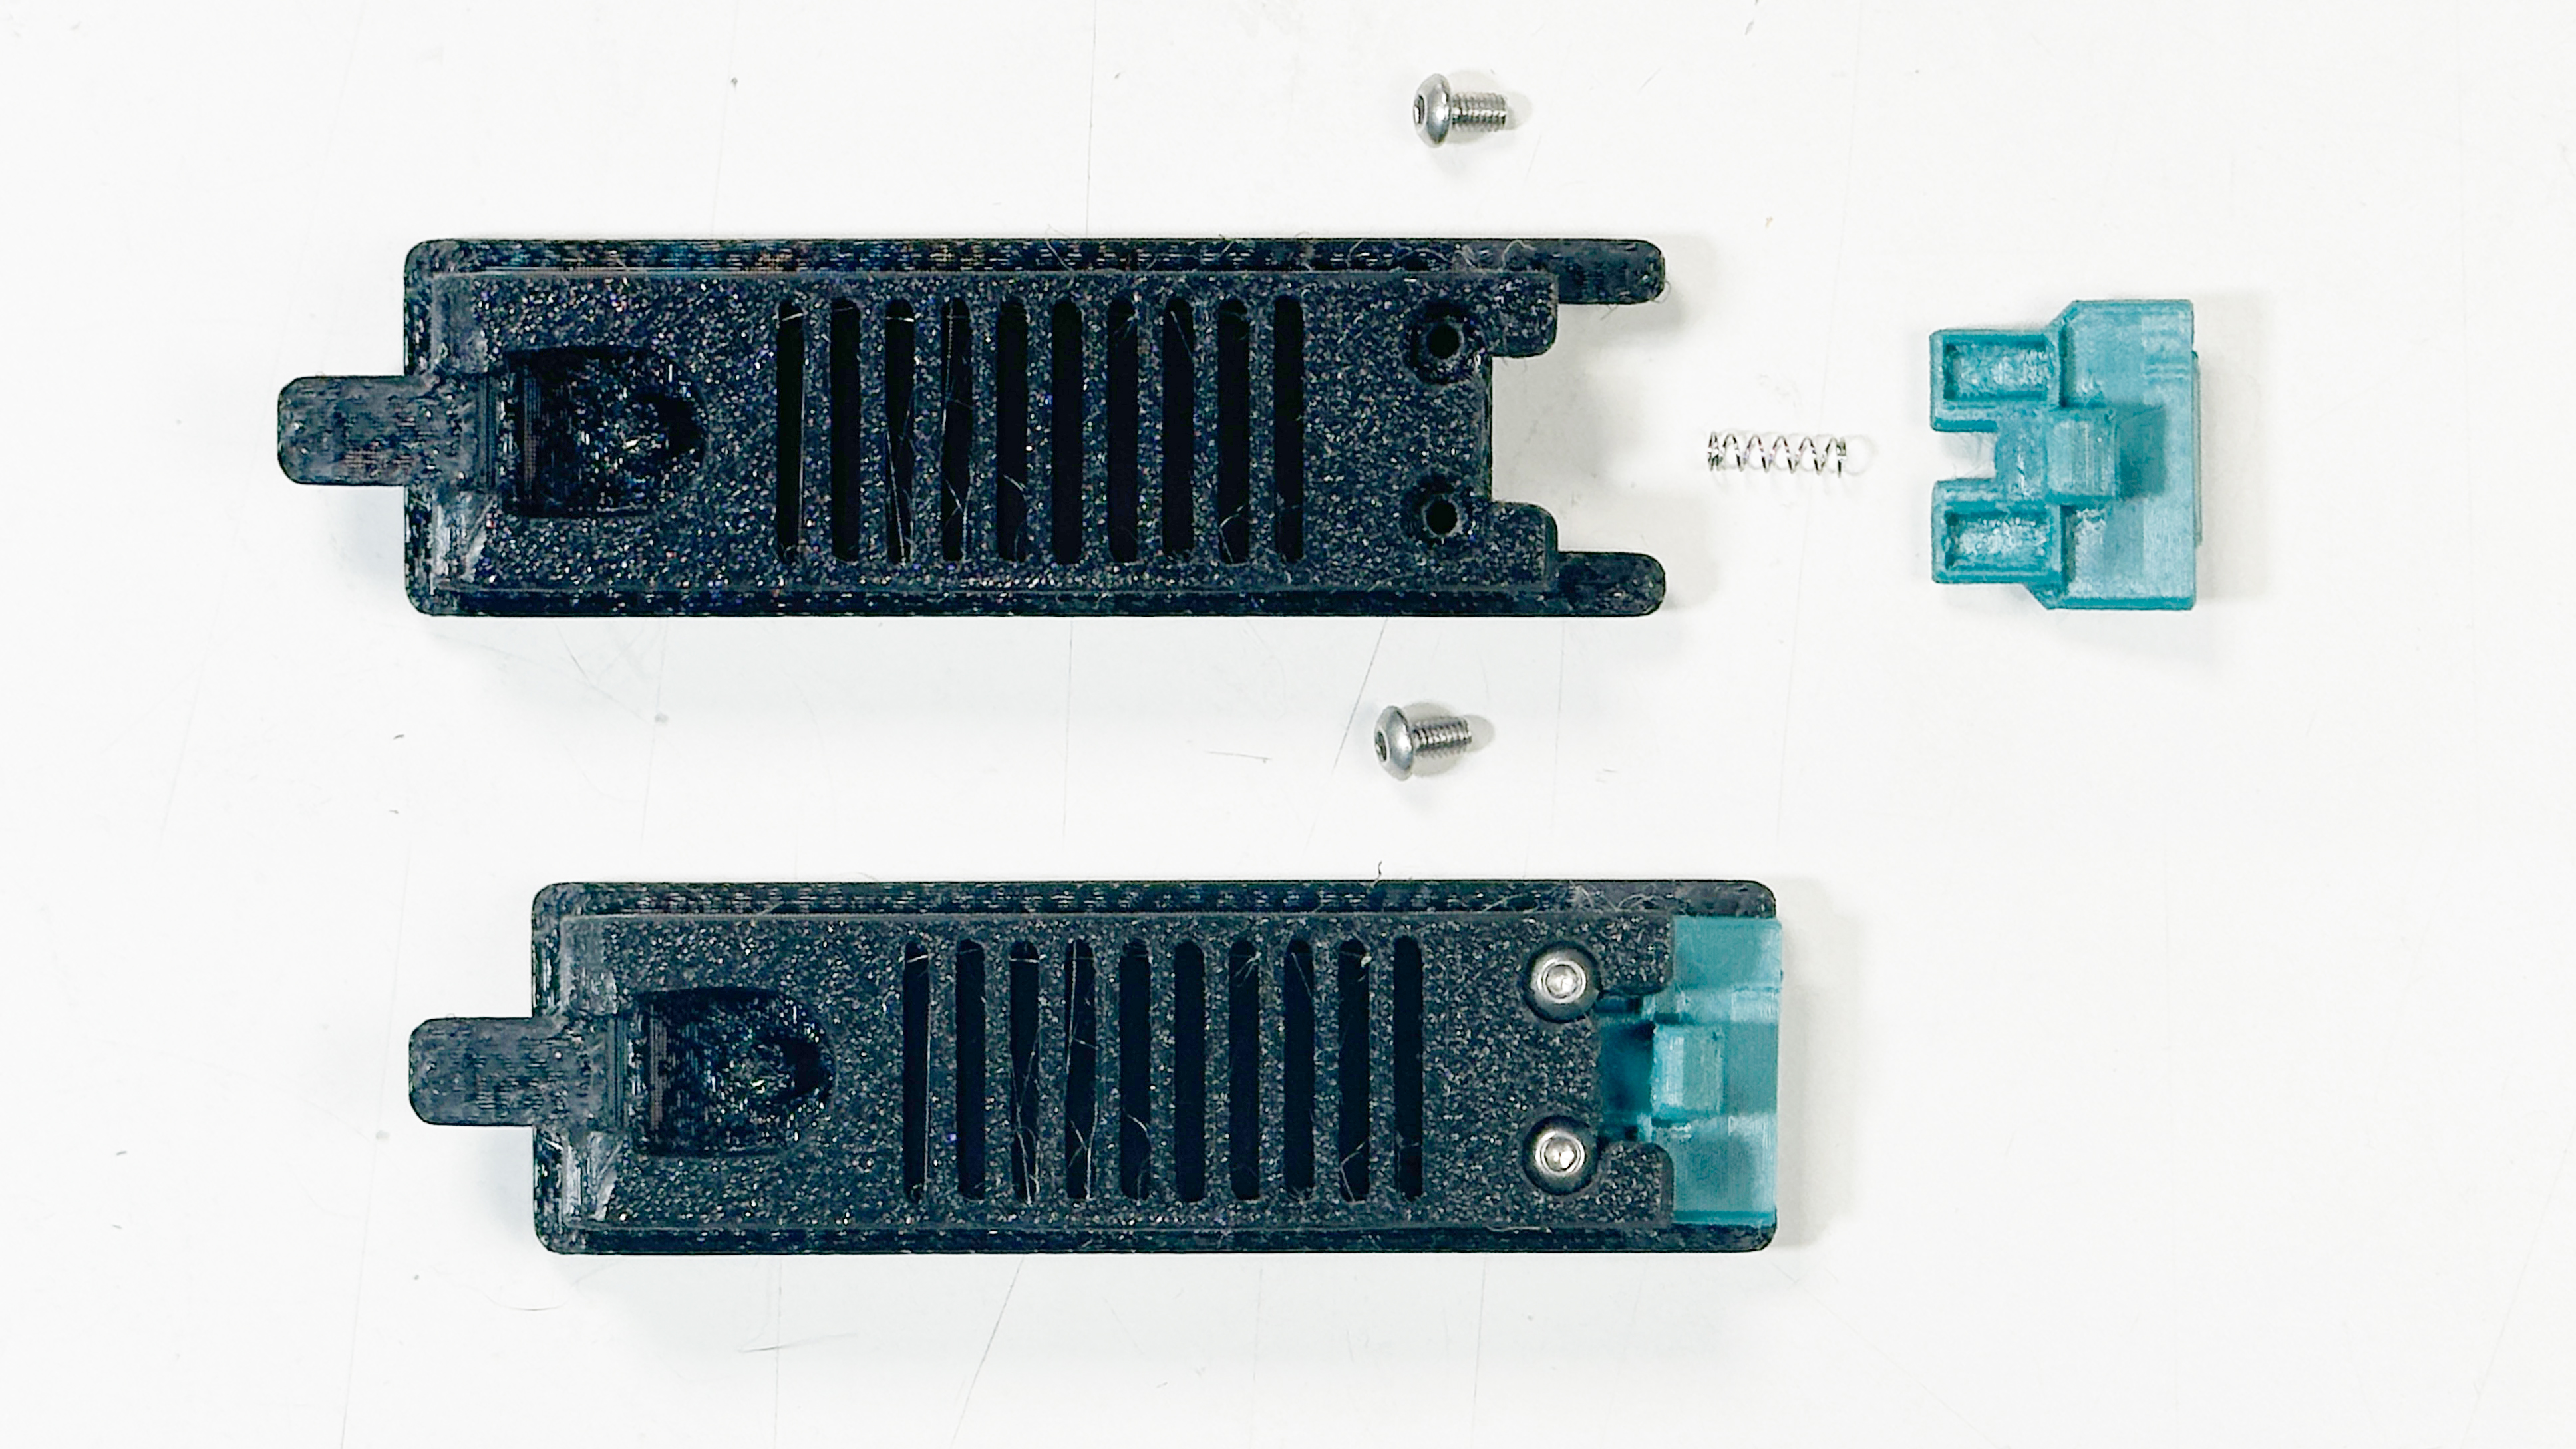
- Insert the small screw in the Latch and shove the Latch into the Lever. The pointy bit of the Latch should face the flat side of the Lever.
- While holding the Latch in place, add the short M3 screws. Tighten them just enough that the Latch moves smoothly.
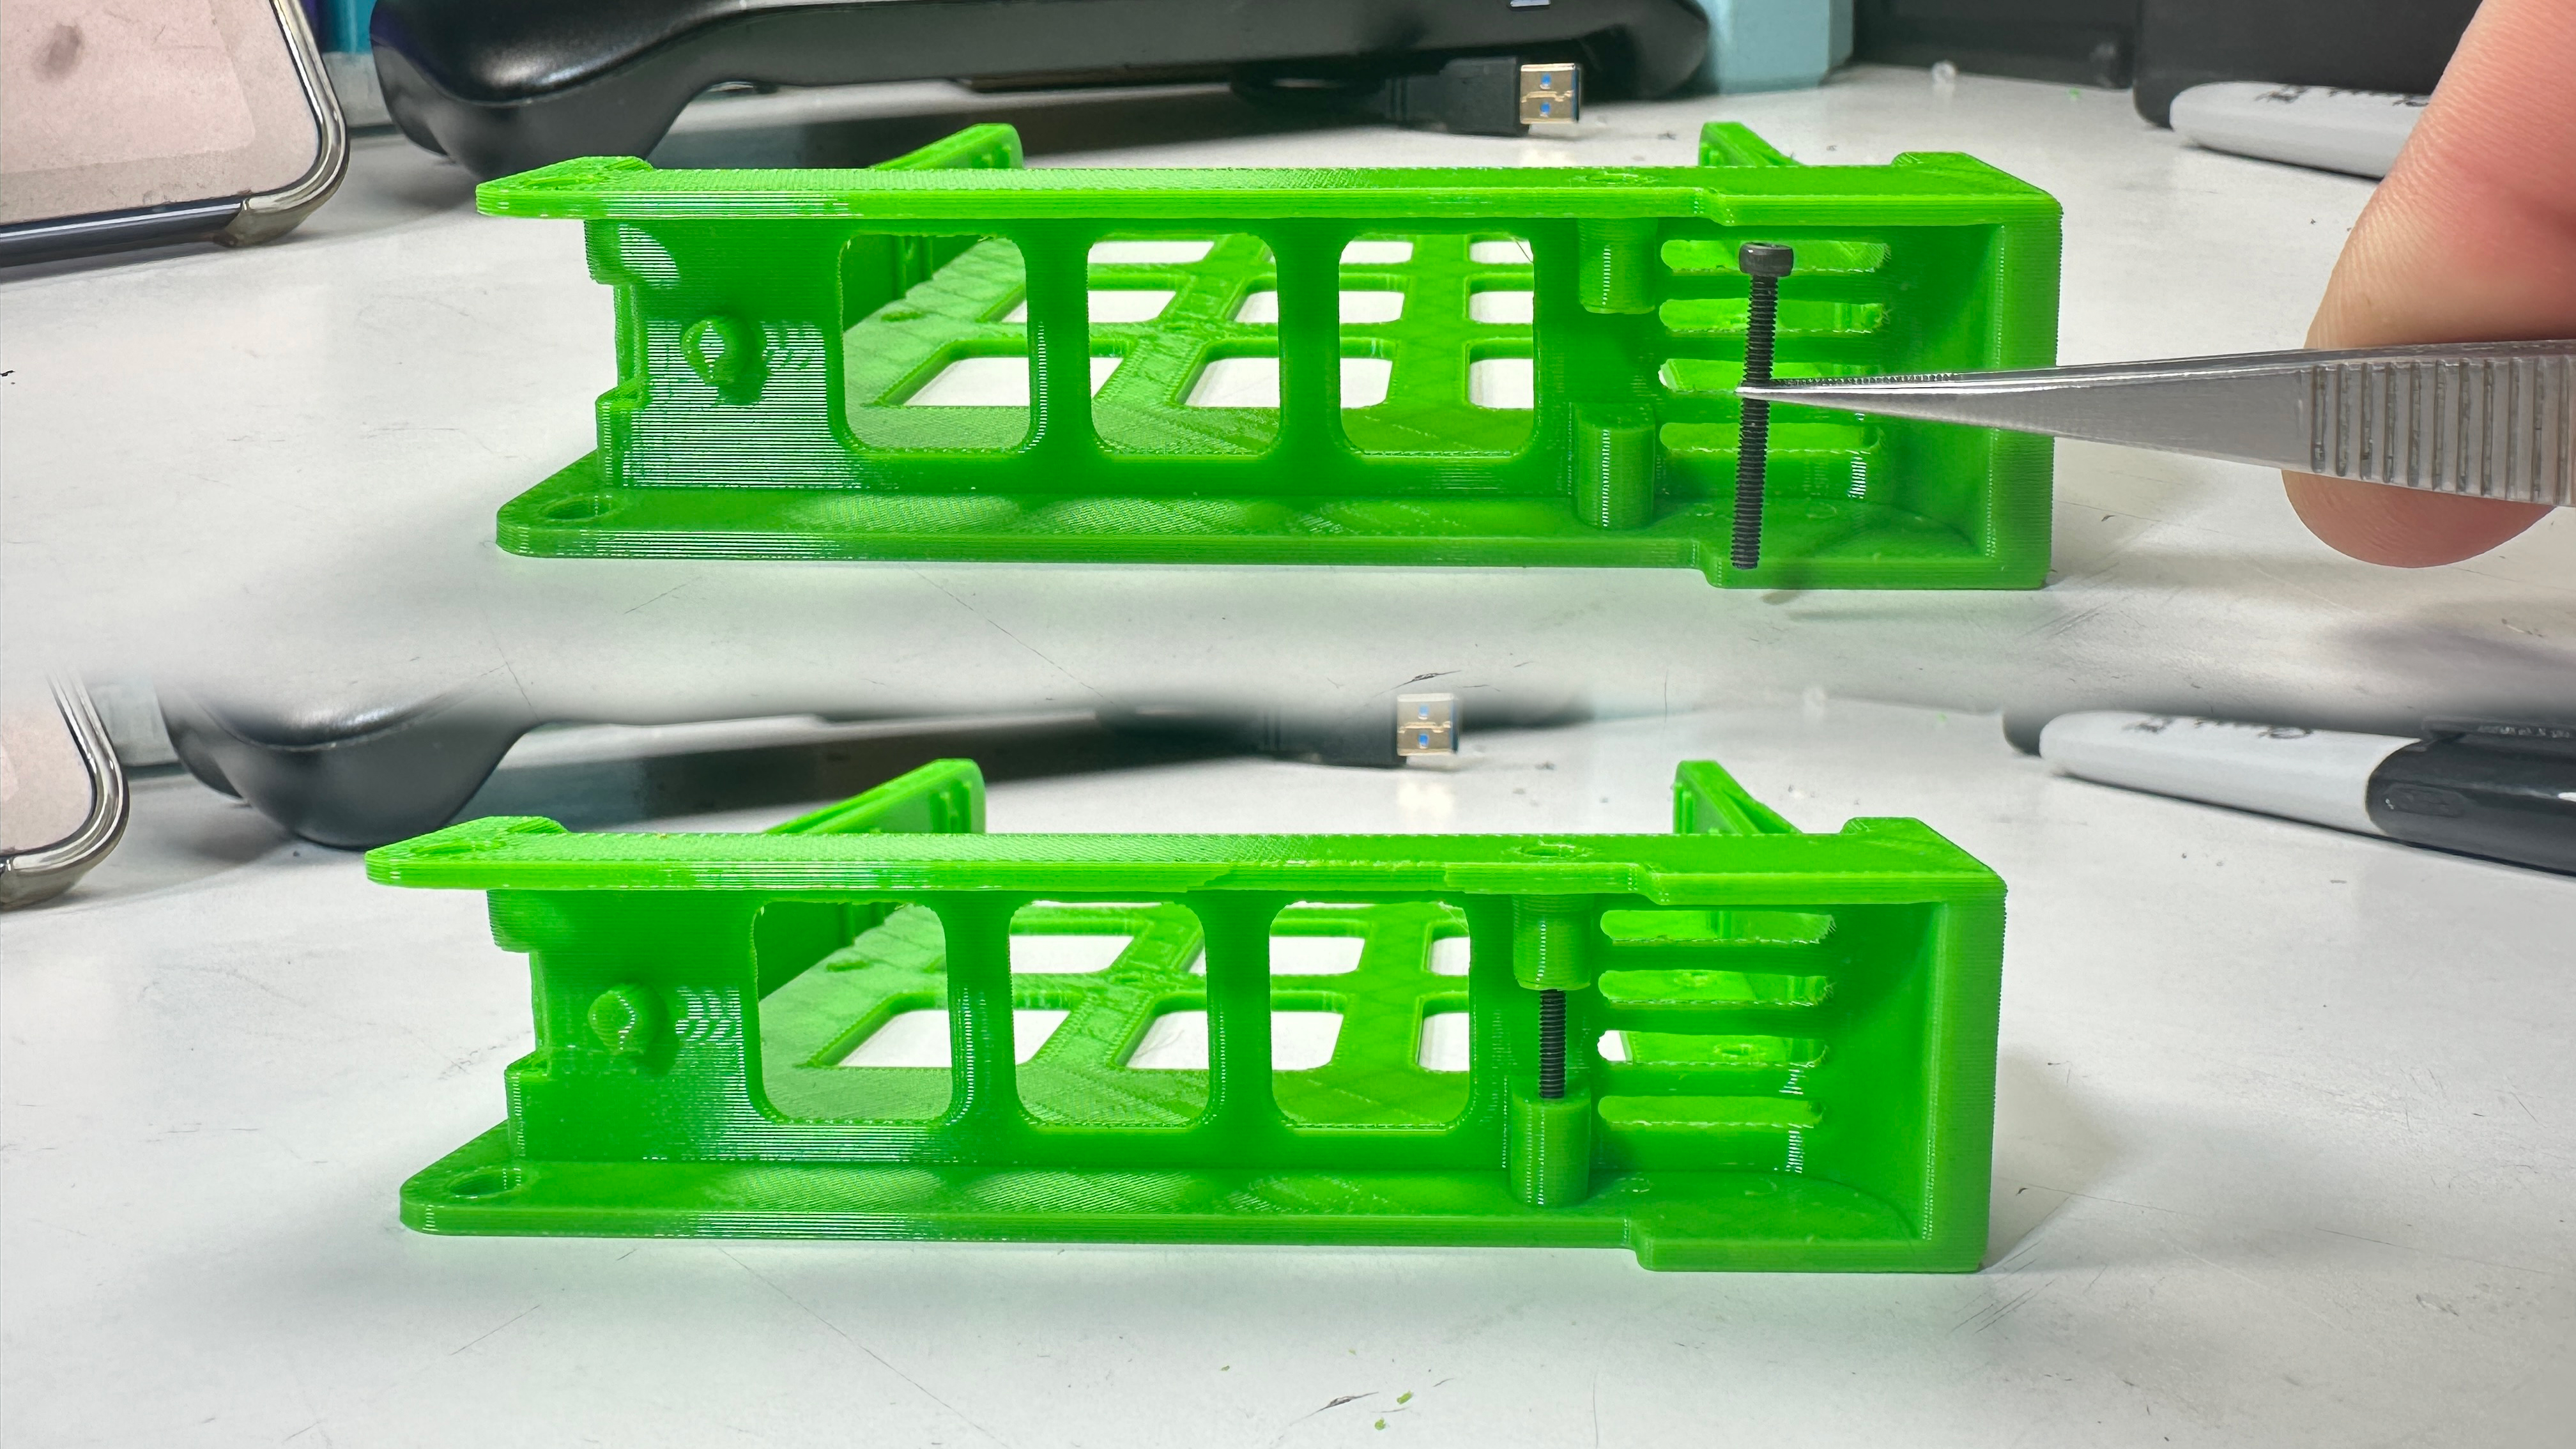
- Drive the M2 screw right into the Frame. This doesn't attach anything, it's what the Latch engages to hold the Lever down.
- Press the Lever into the Frame and add the long screw through the top hole. It doesn't attach anything, it serves as an axle. The screw head should be flush with the top surface of the Frame.
- Add the other long screw on the bottom. Make sure it's flush!
- Open the Lever and shove in the big spring. I recommend setting it in the Lever first, then use pliers to pull it over the peg in the Frame.
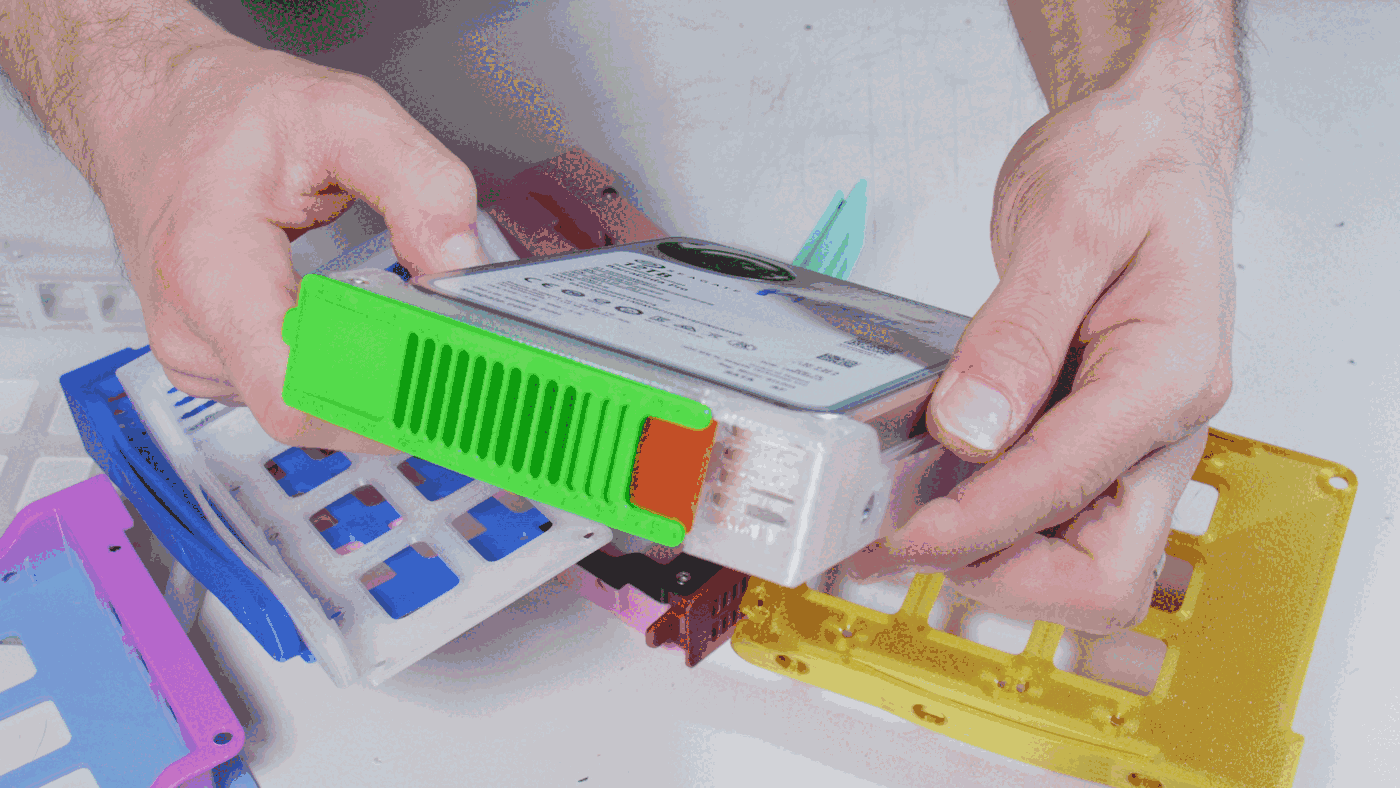
- Screw in a disk. The ports should be on the bottom side, facing away from the Lever
- Shove it in a server and fill 'er up
Source URL
https://www.printables.com/model/1632299-hotswap-disk-sled-for-crappy-rosewill-rsv-series-s
License
